Amas - Inside and outside lamination
Not every step of building a boat is pure excitement. For example lamination. Yes, it's a very important step, but it's pain. Epoxy lives it's own life and ready or not you should follow it's rules.
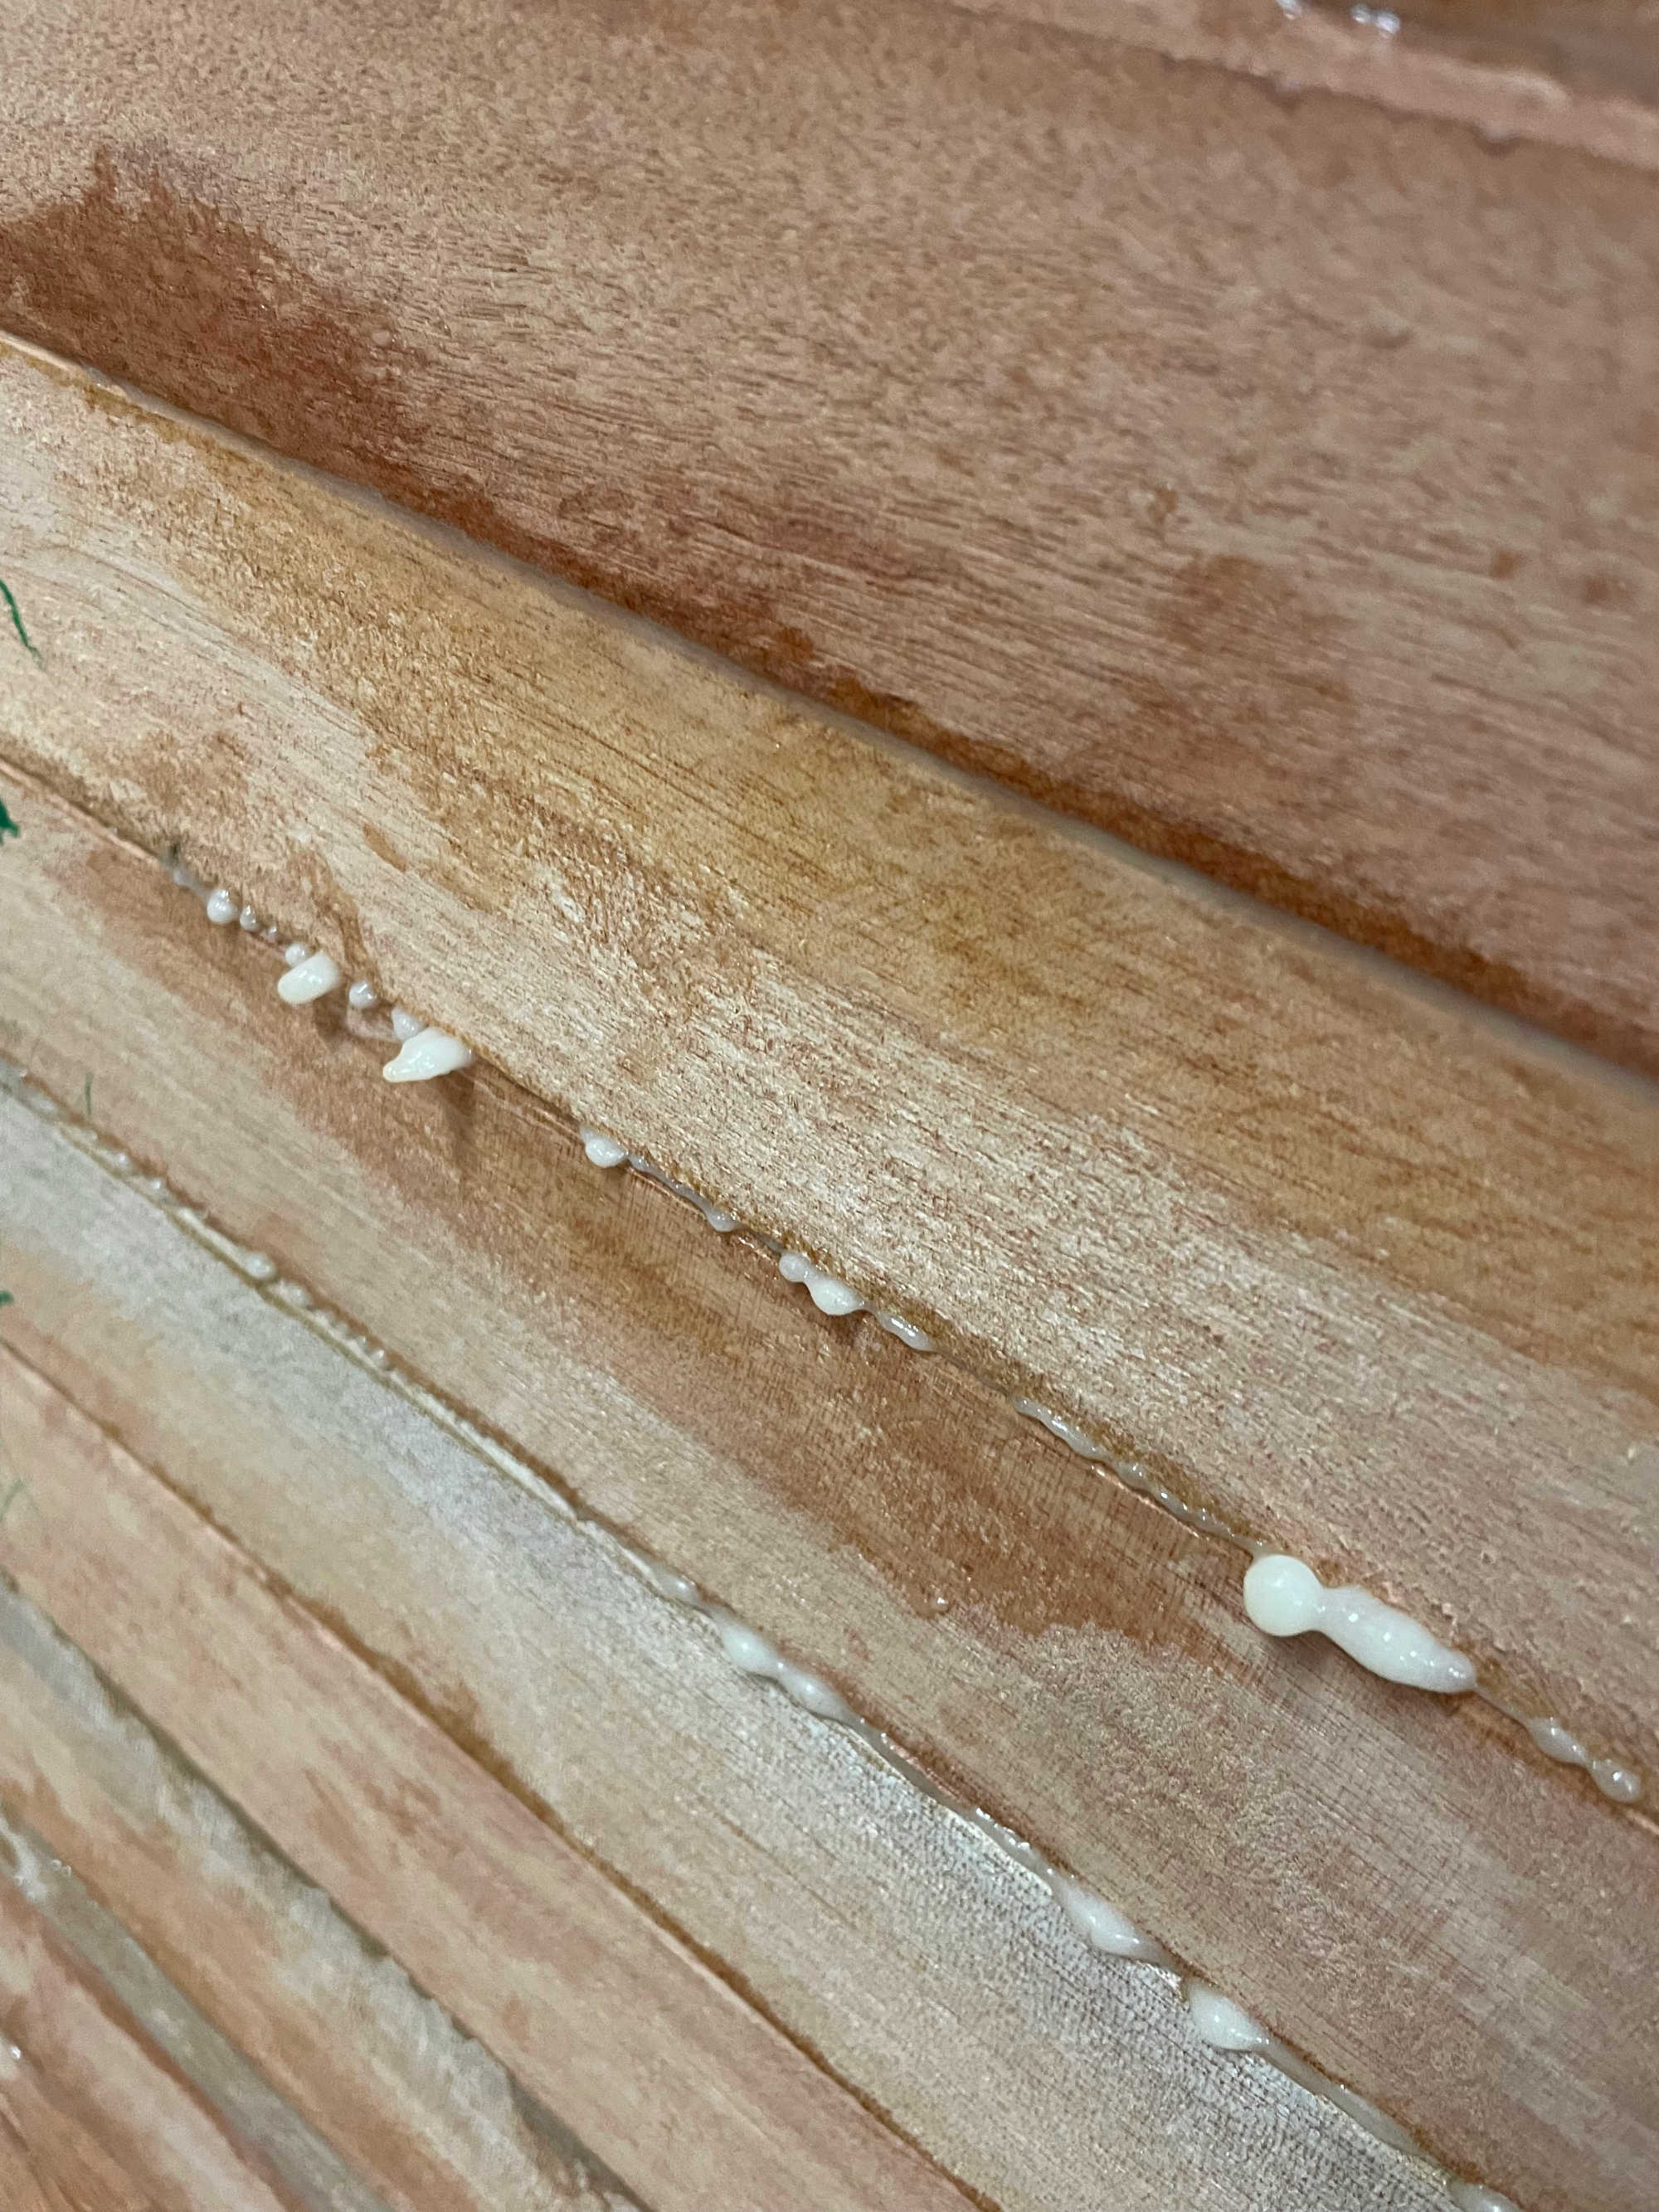
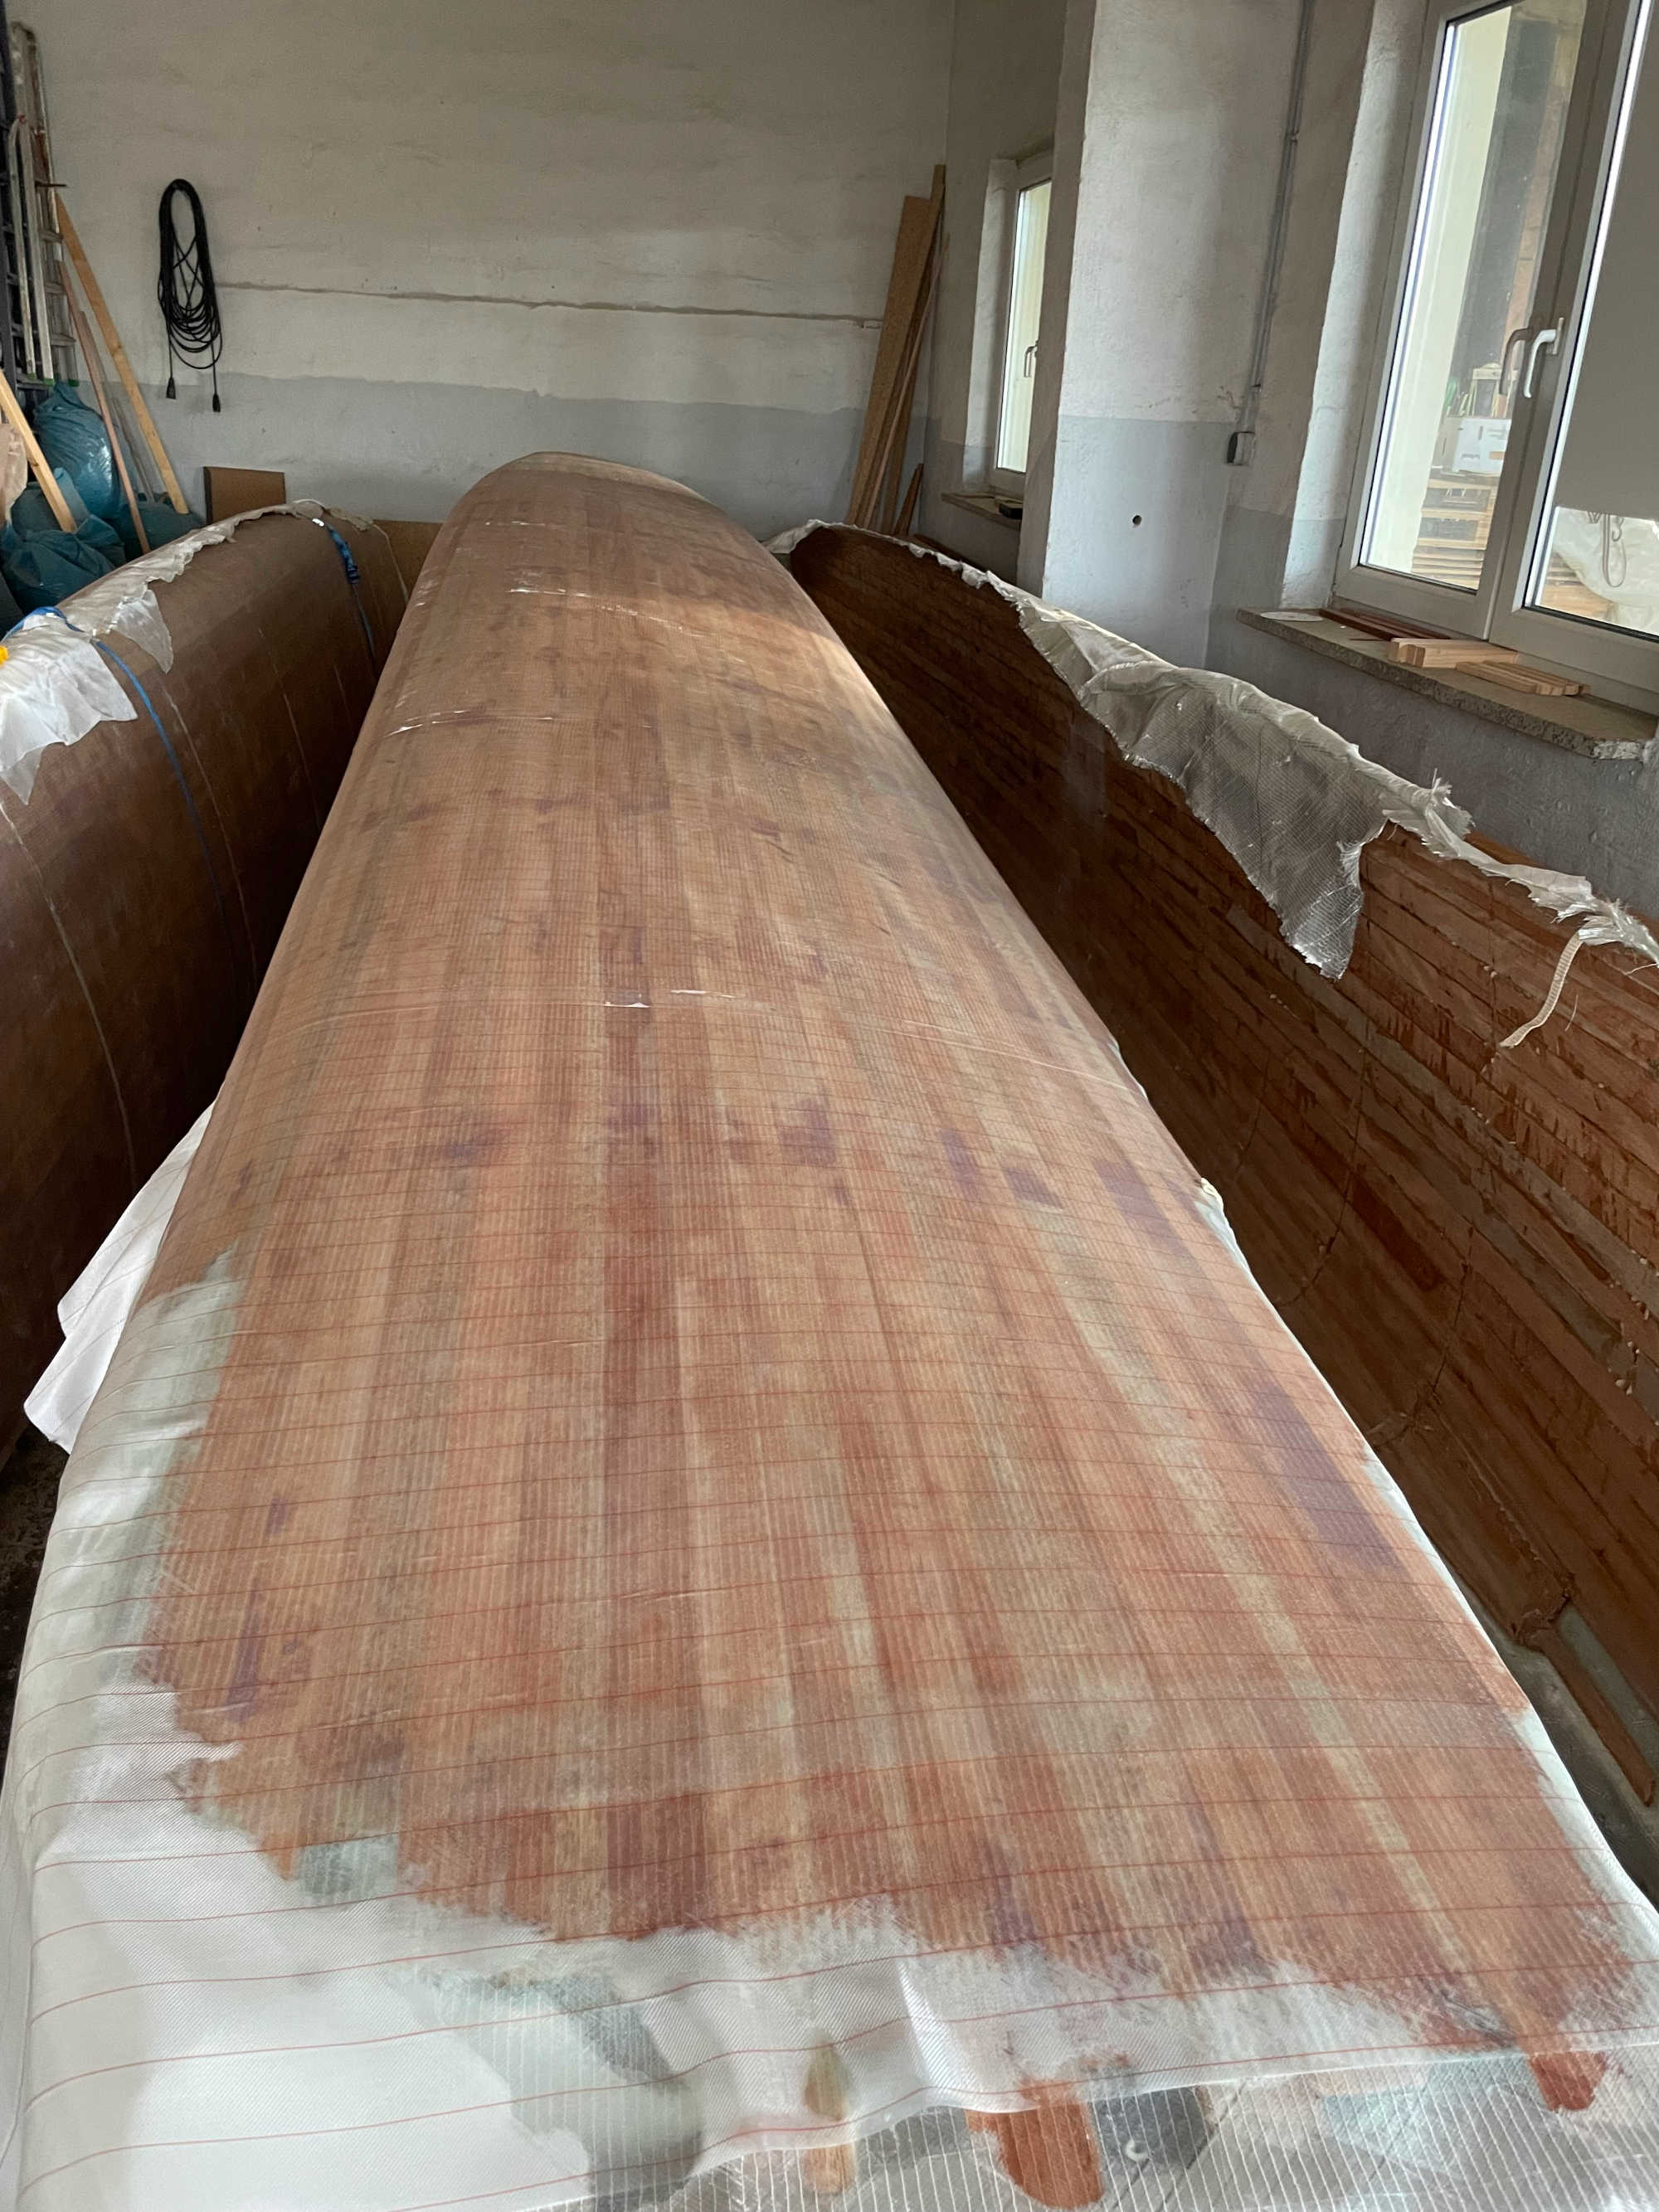
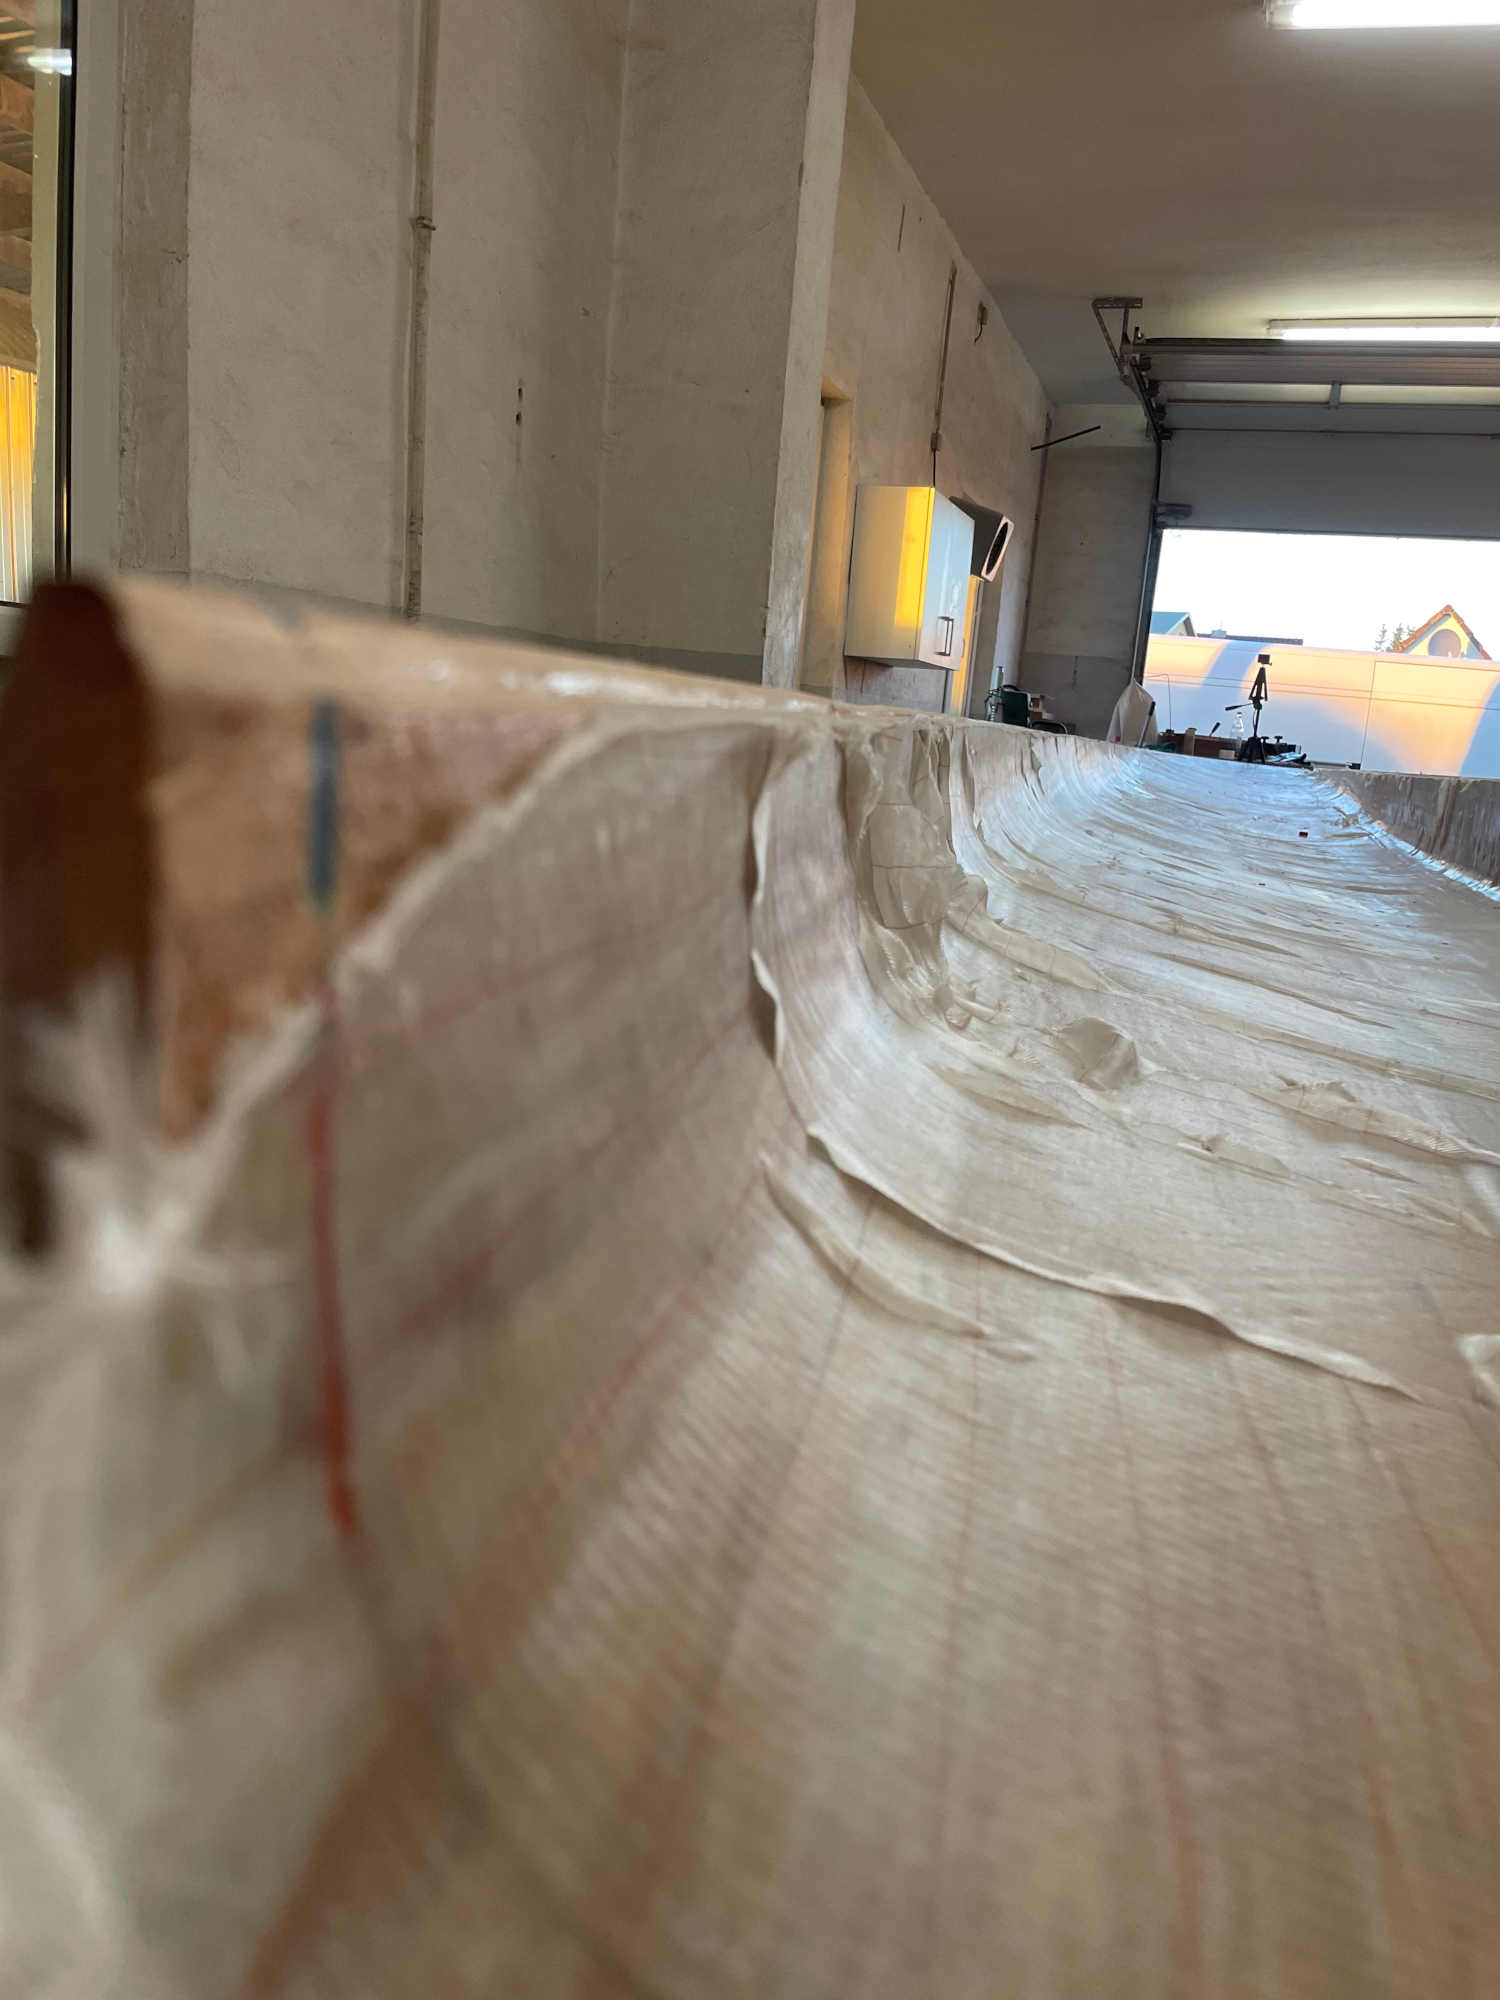
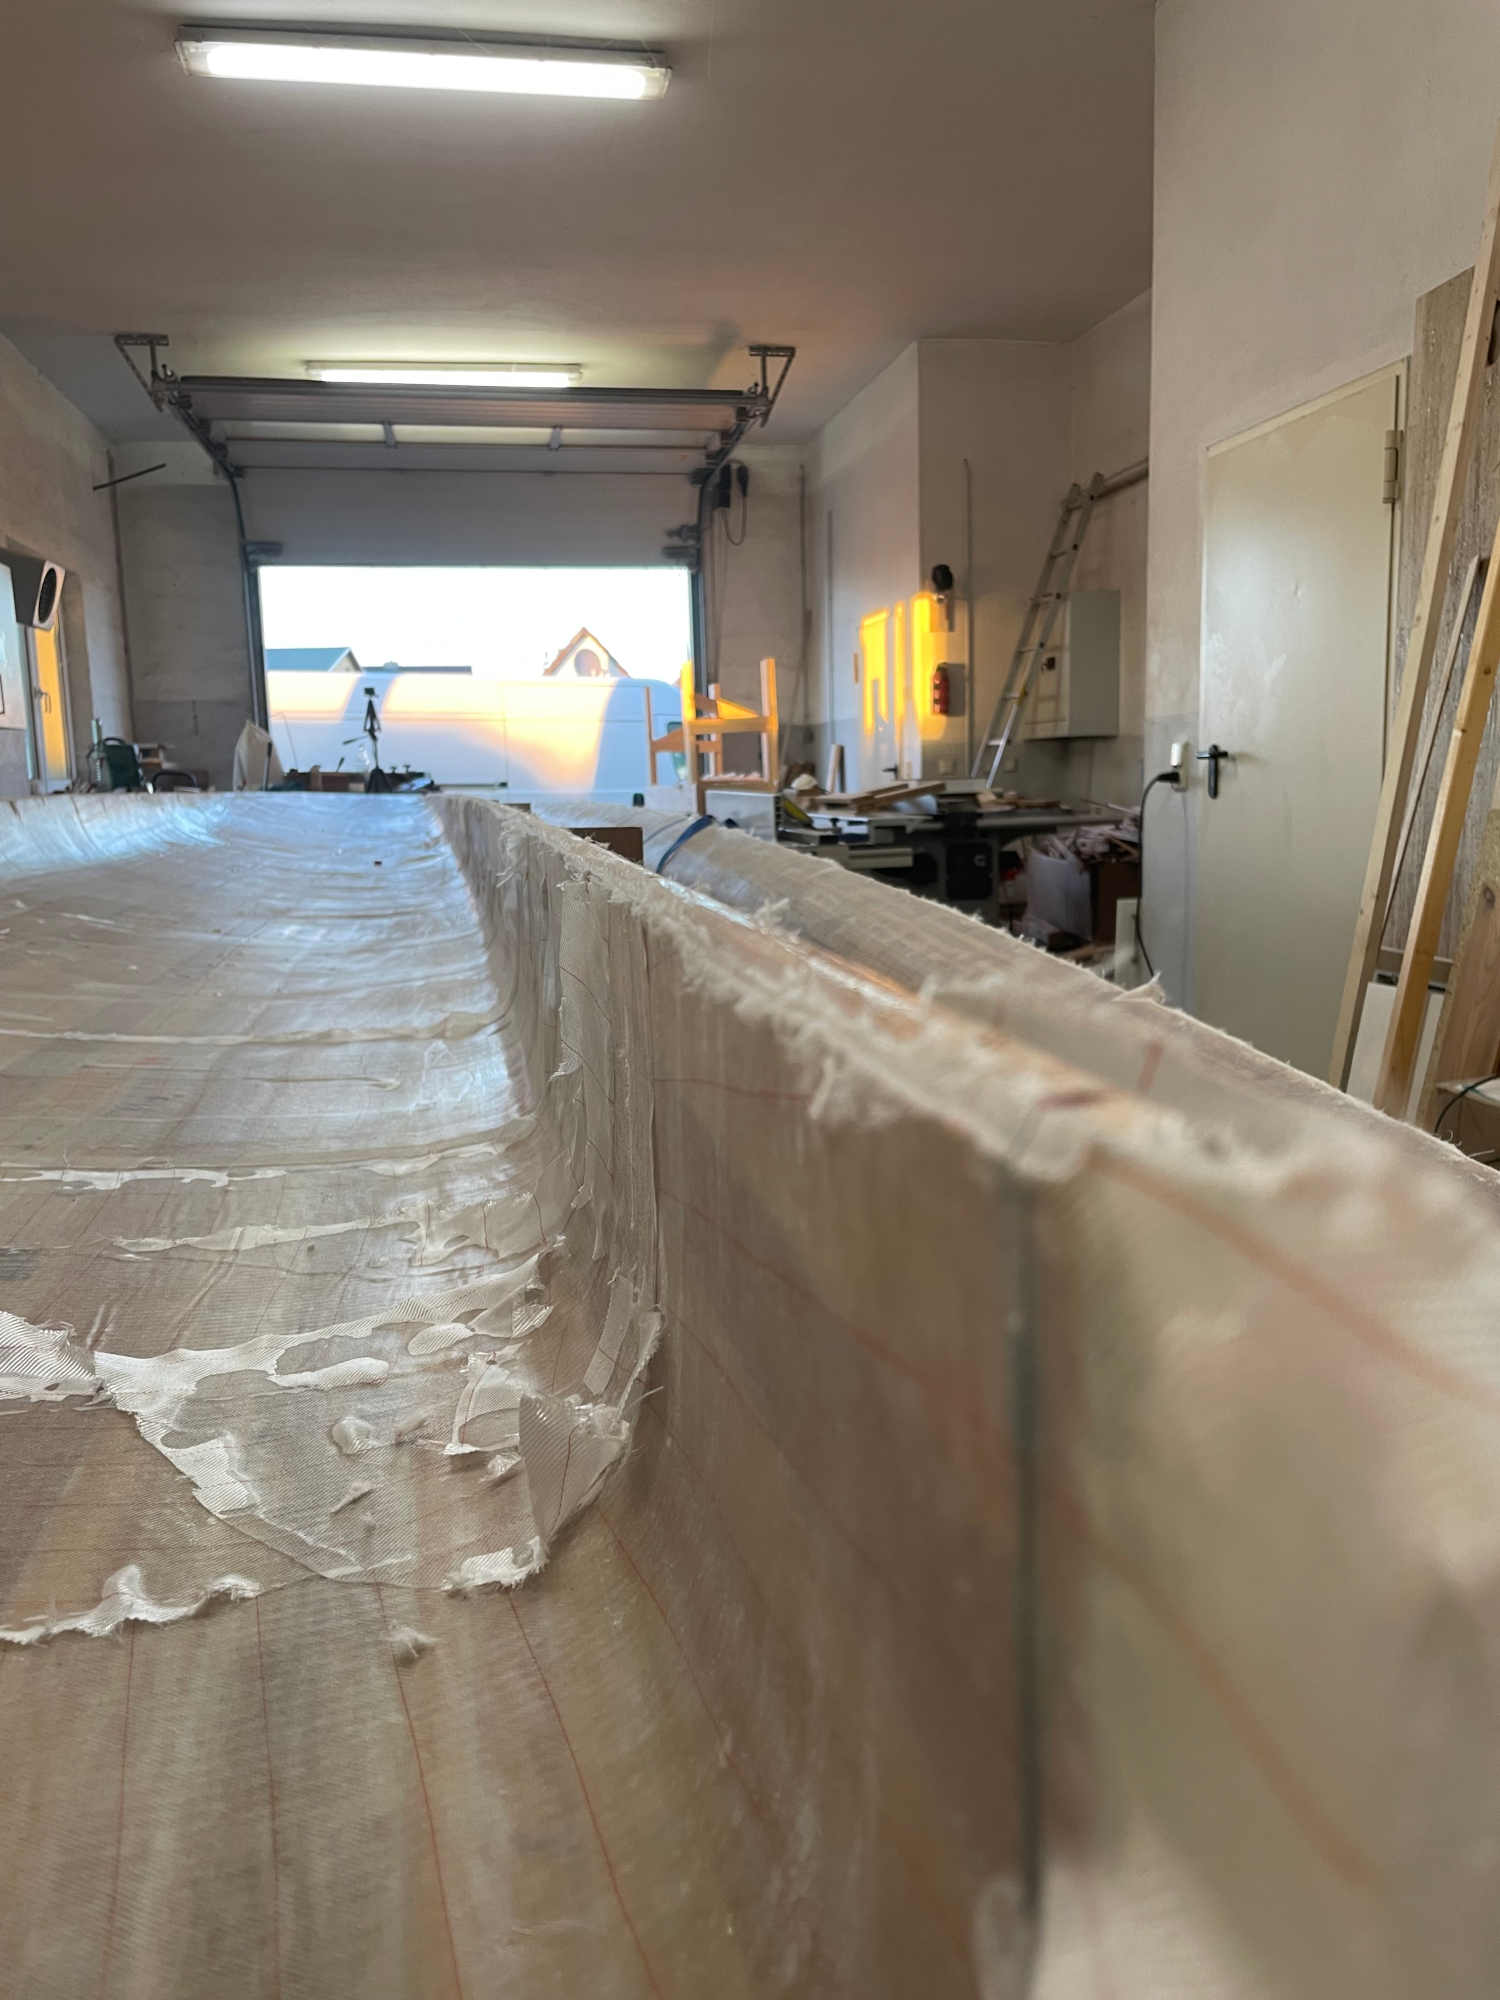
Let’s do it. Double layers of 300 g/m2 biaxial (+/- 45 degree) fiberglass inside and outside, in total ca. 152 m2. Fiberglass of 300 g/m2 is great to work with. It's not too heavy and nicely follows the shape, as well as small differences (reliefs) on the surface. On top a layer of peel ply, as Cristian says "the best boat-builders friend".
We always try to work wet on wet. This is the best way for epoxy to bond chemically and mechanically. Therefore, we had to make plan.
I always try to follow 3 steps: Planing, Preparation and Action. OK, so how did we plan it? Lamination has to be done on a day we are both off work… Guess which day… yes, right, it's Sunday… Before lamination, we had to cut Fiberglass and pump epoxy into calibrated vessels…
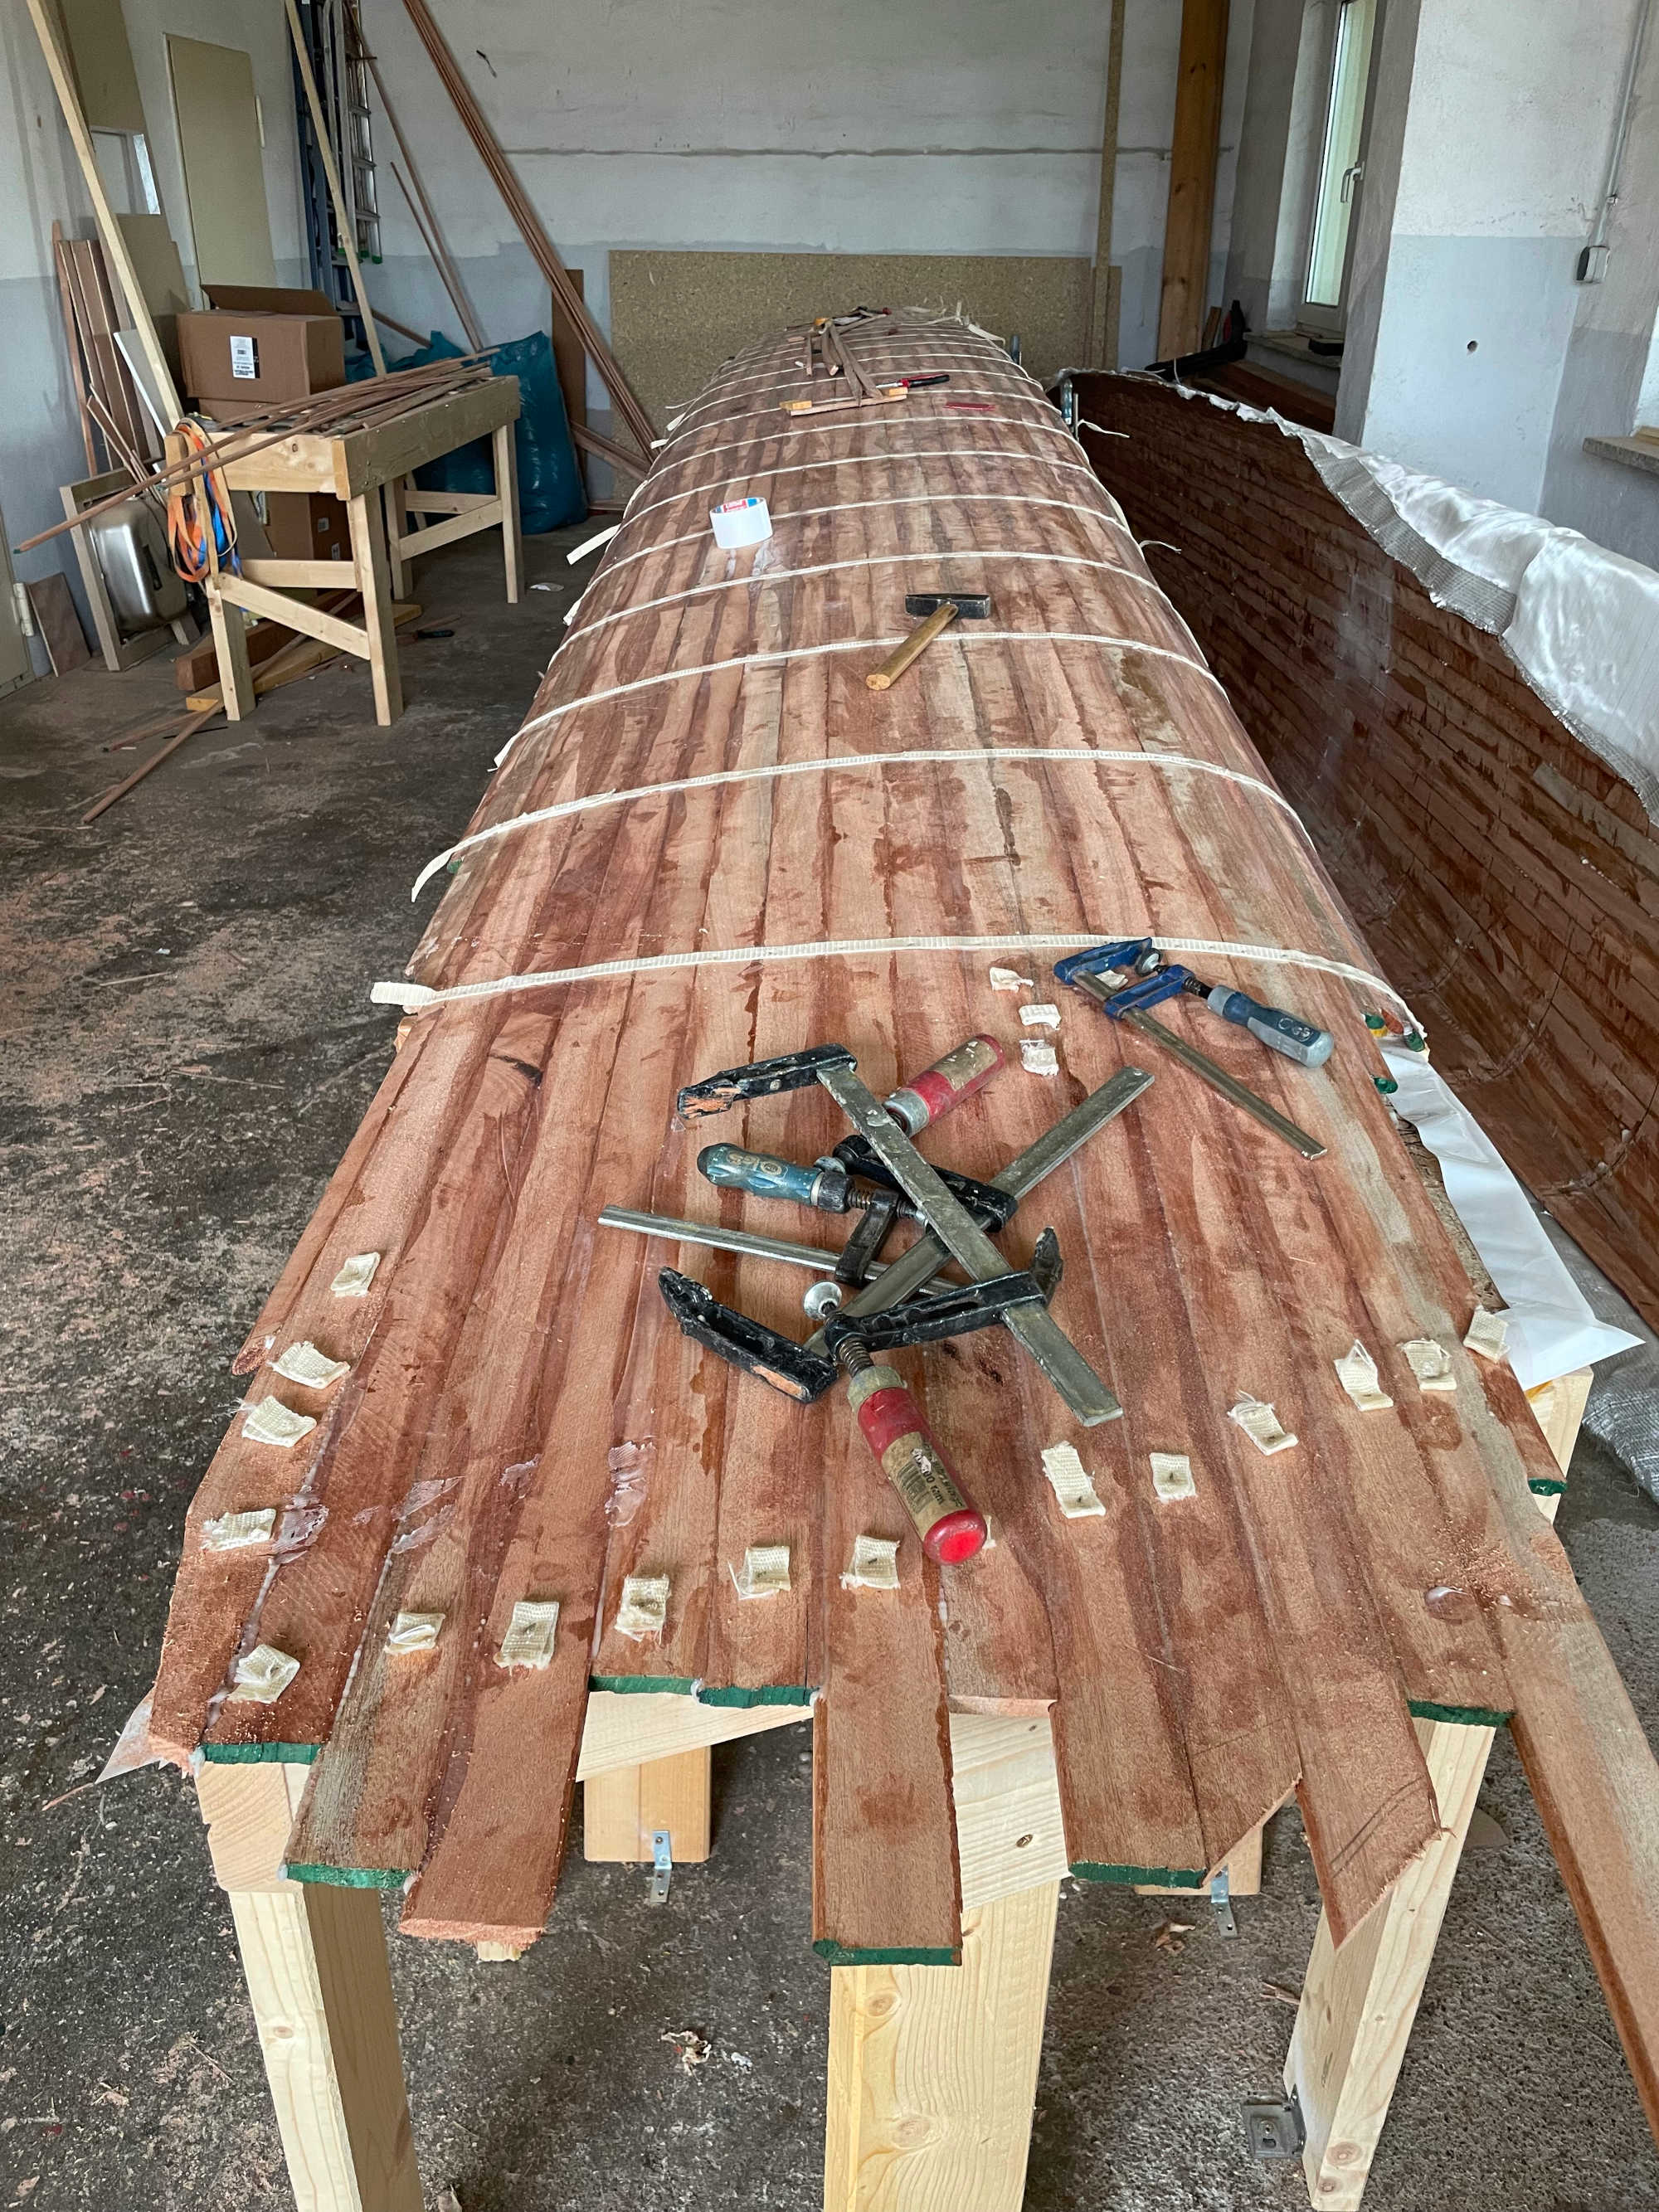
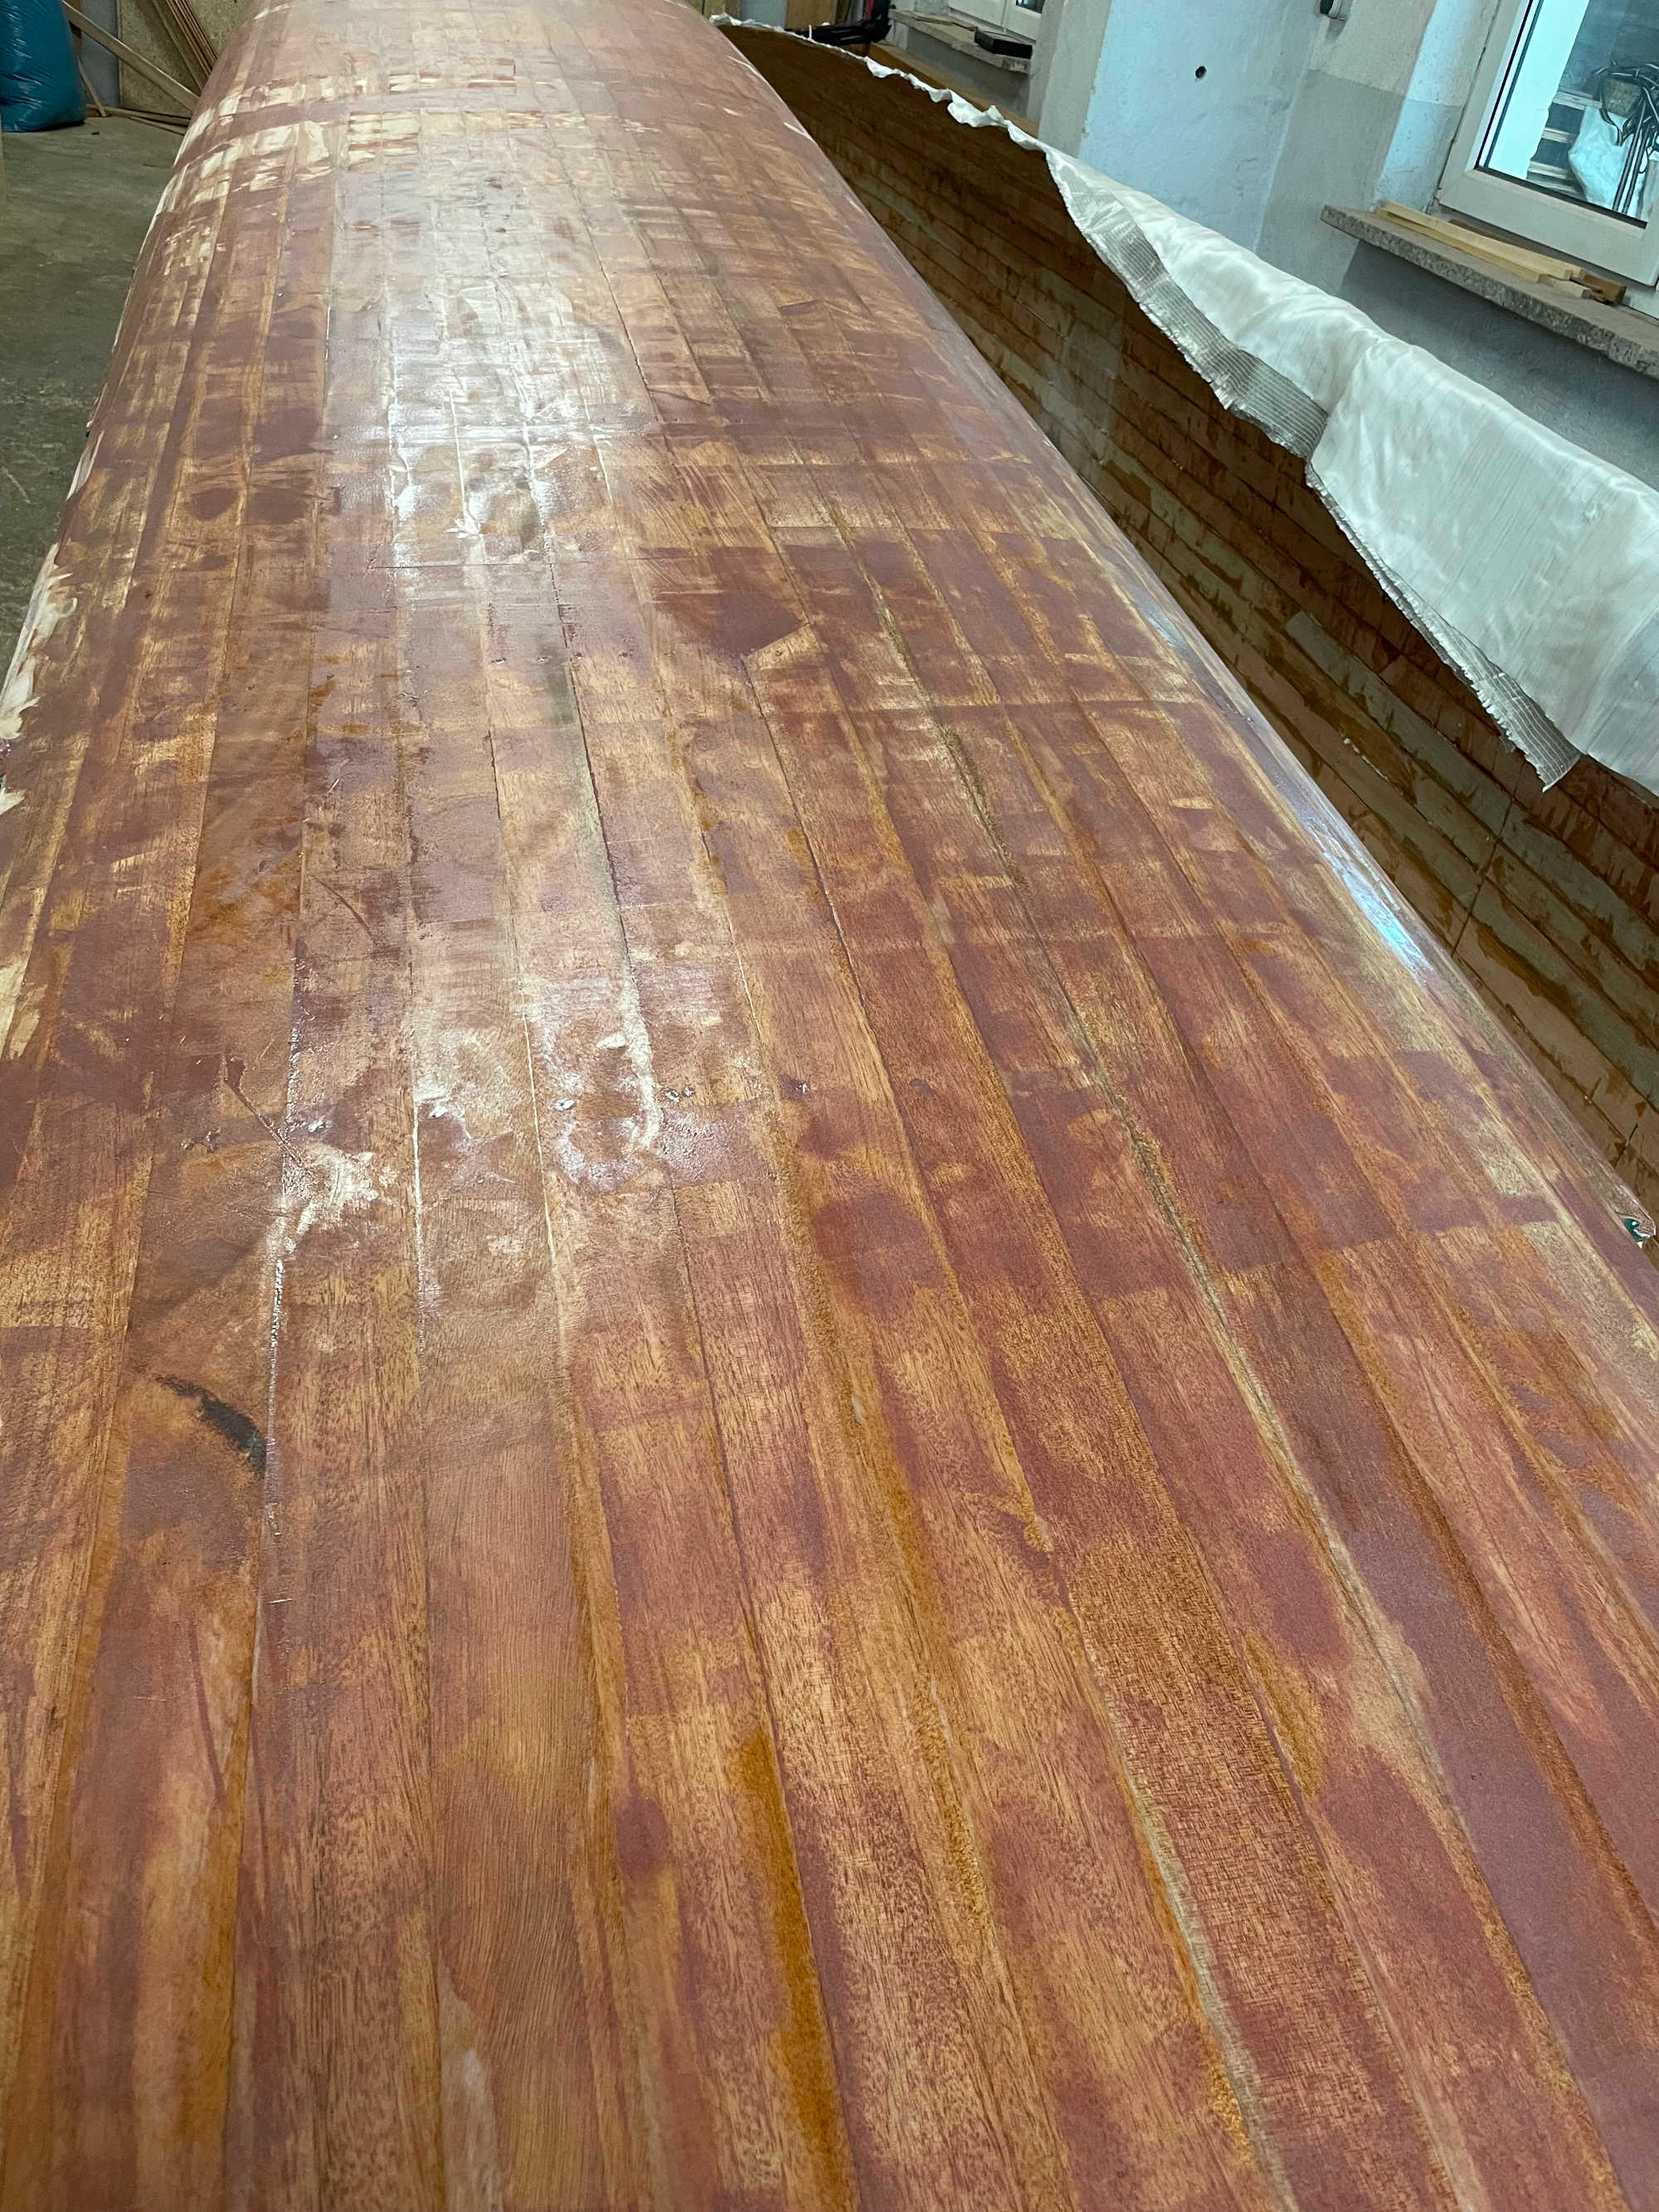
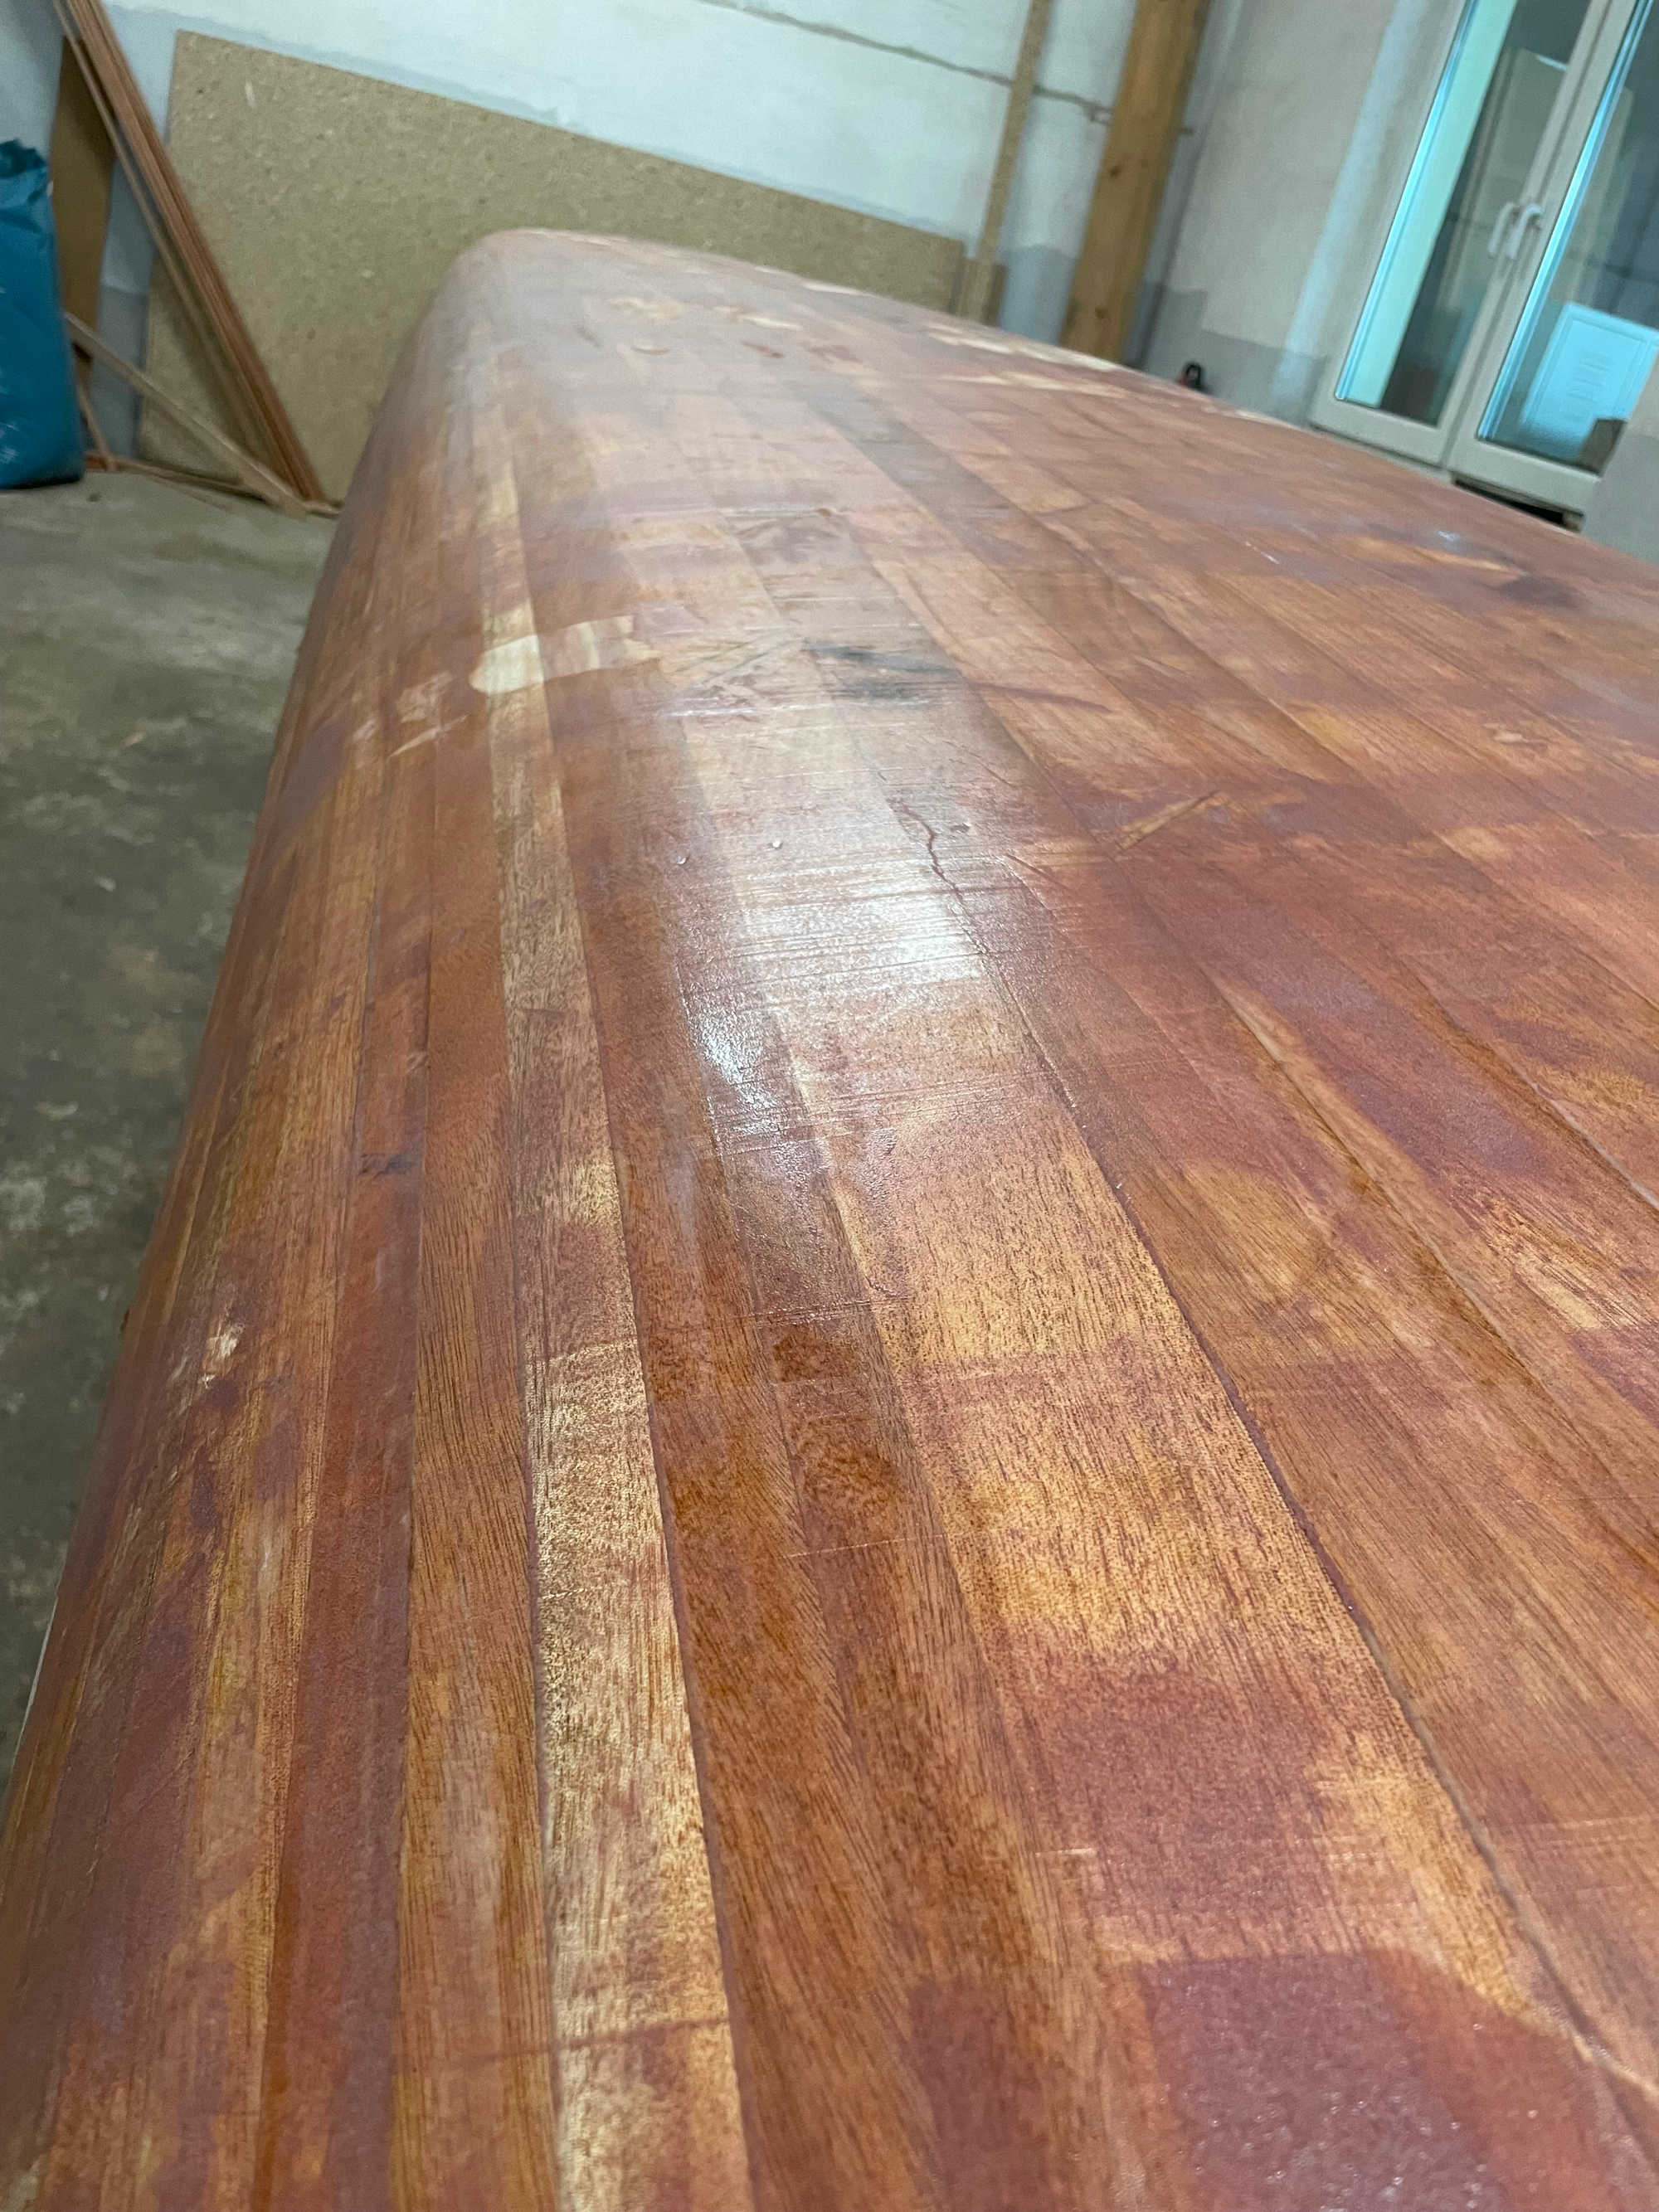
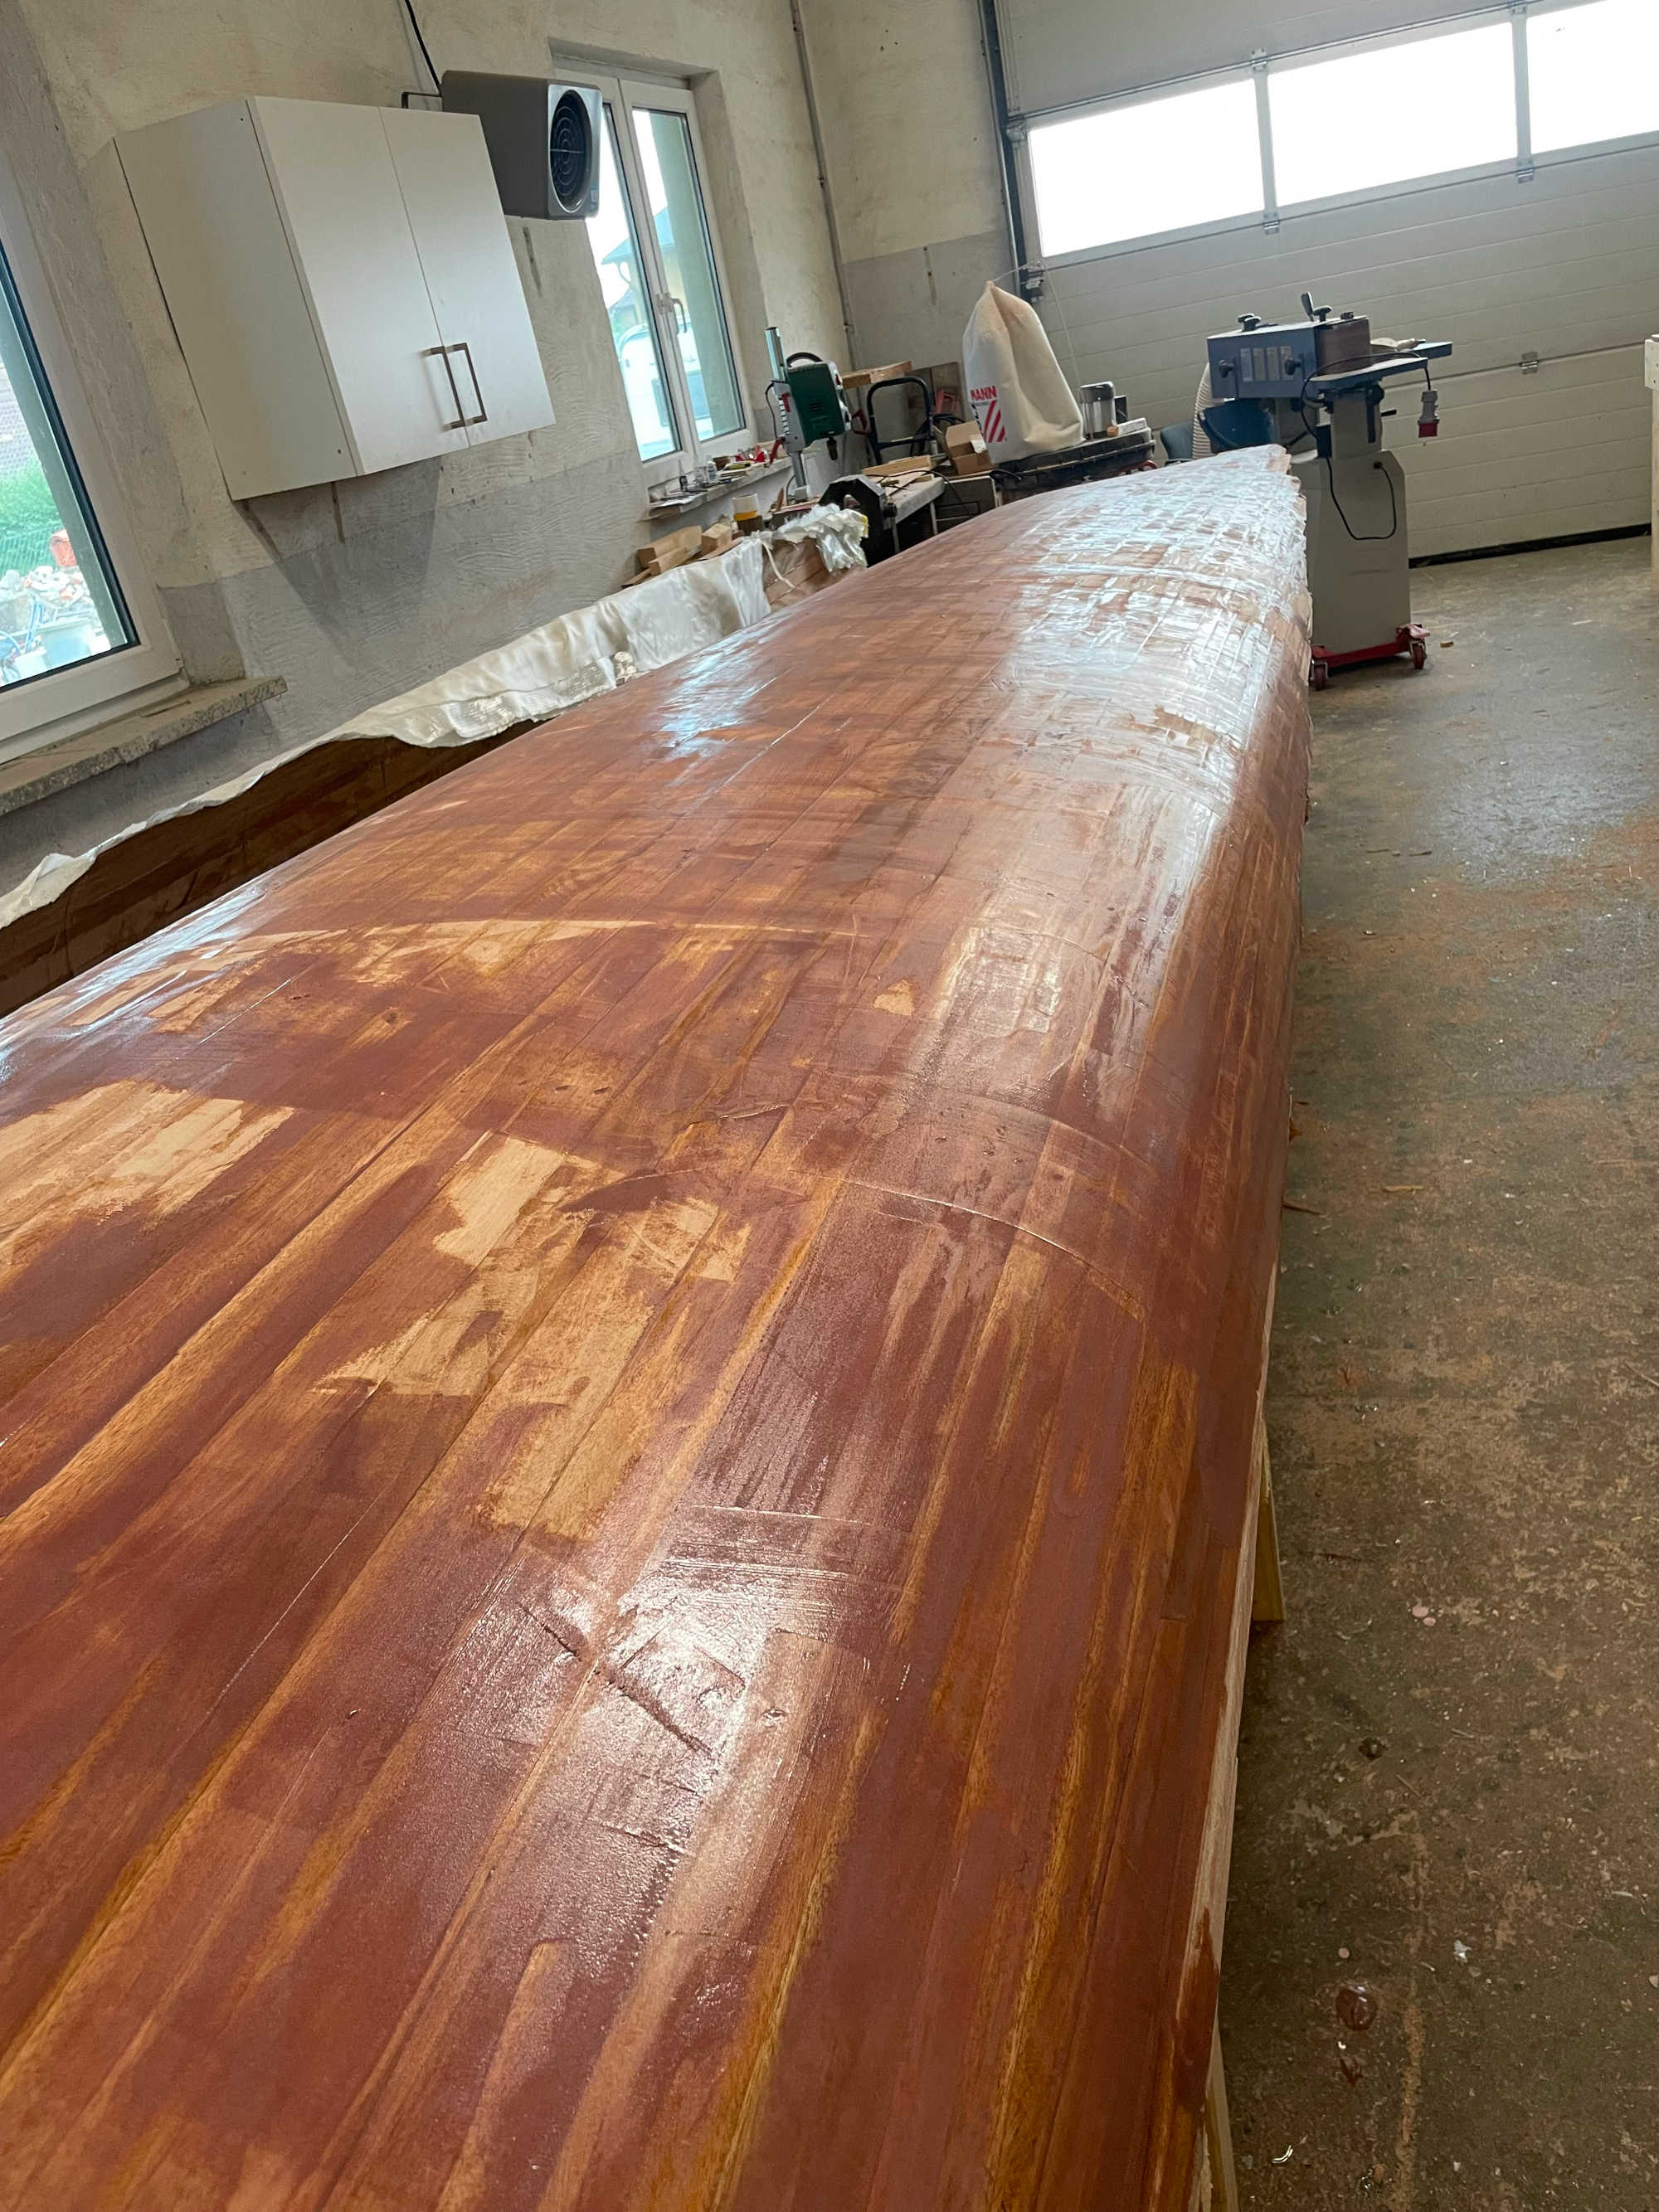
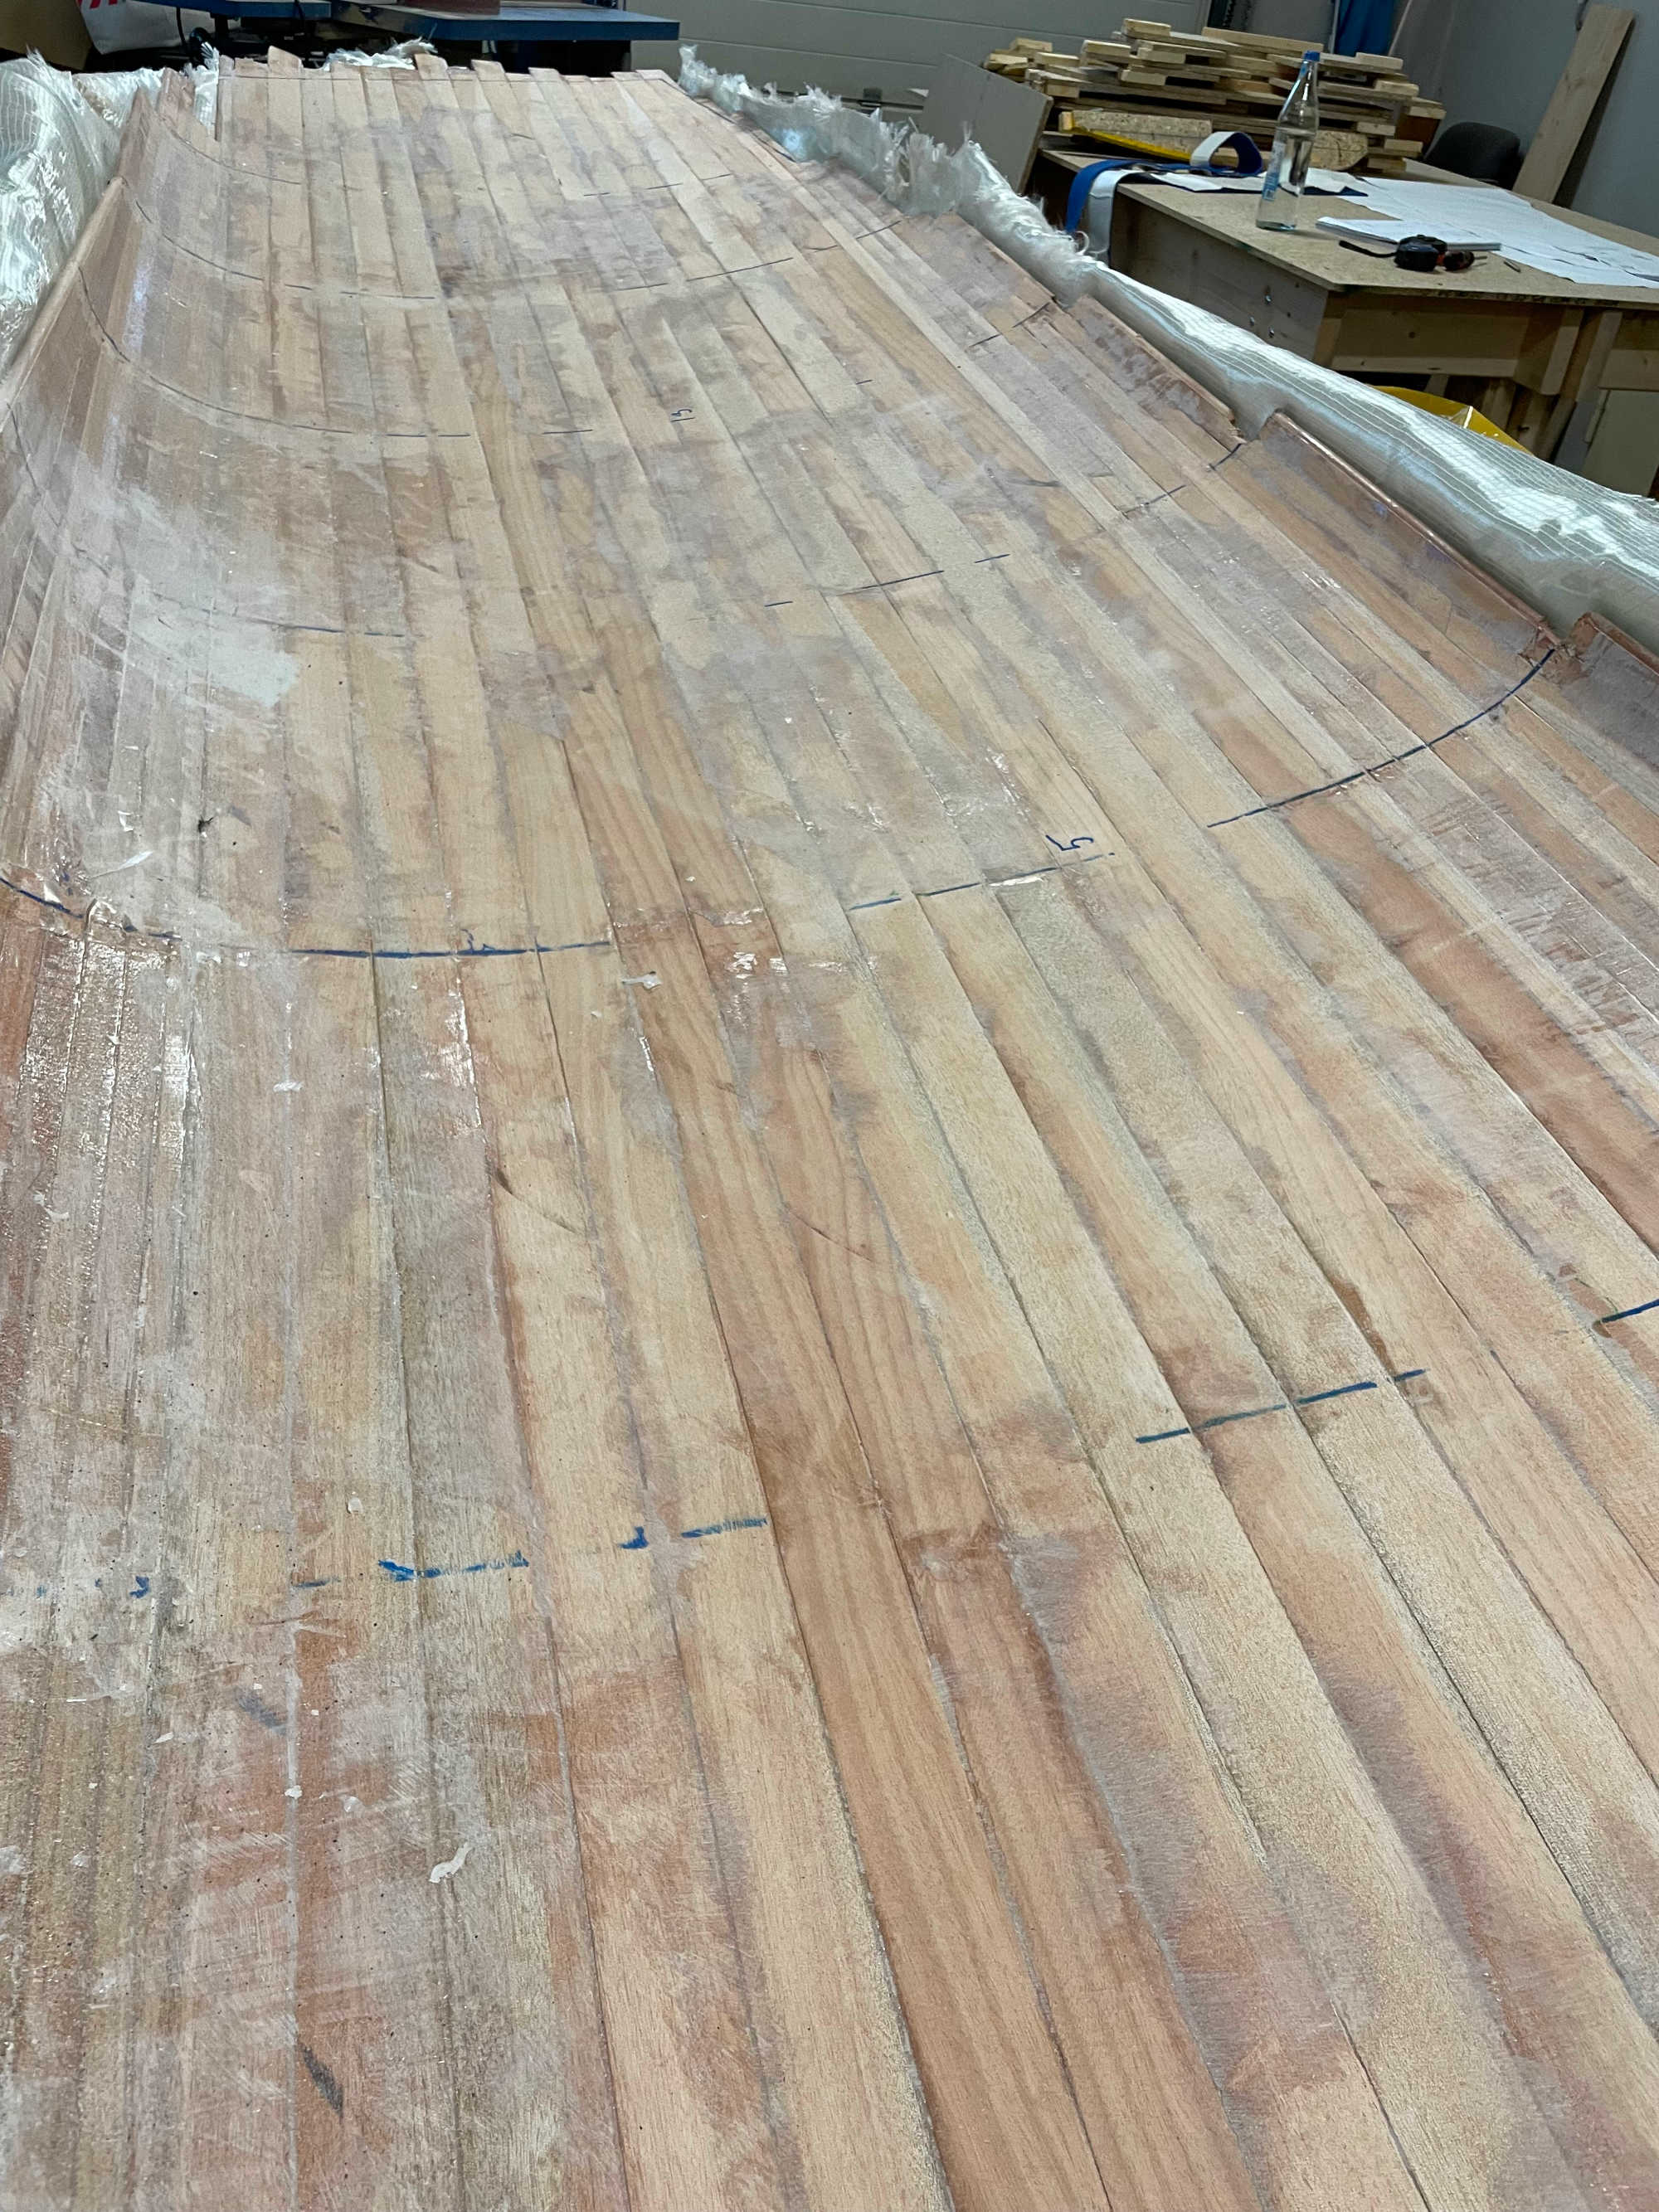
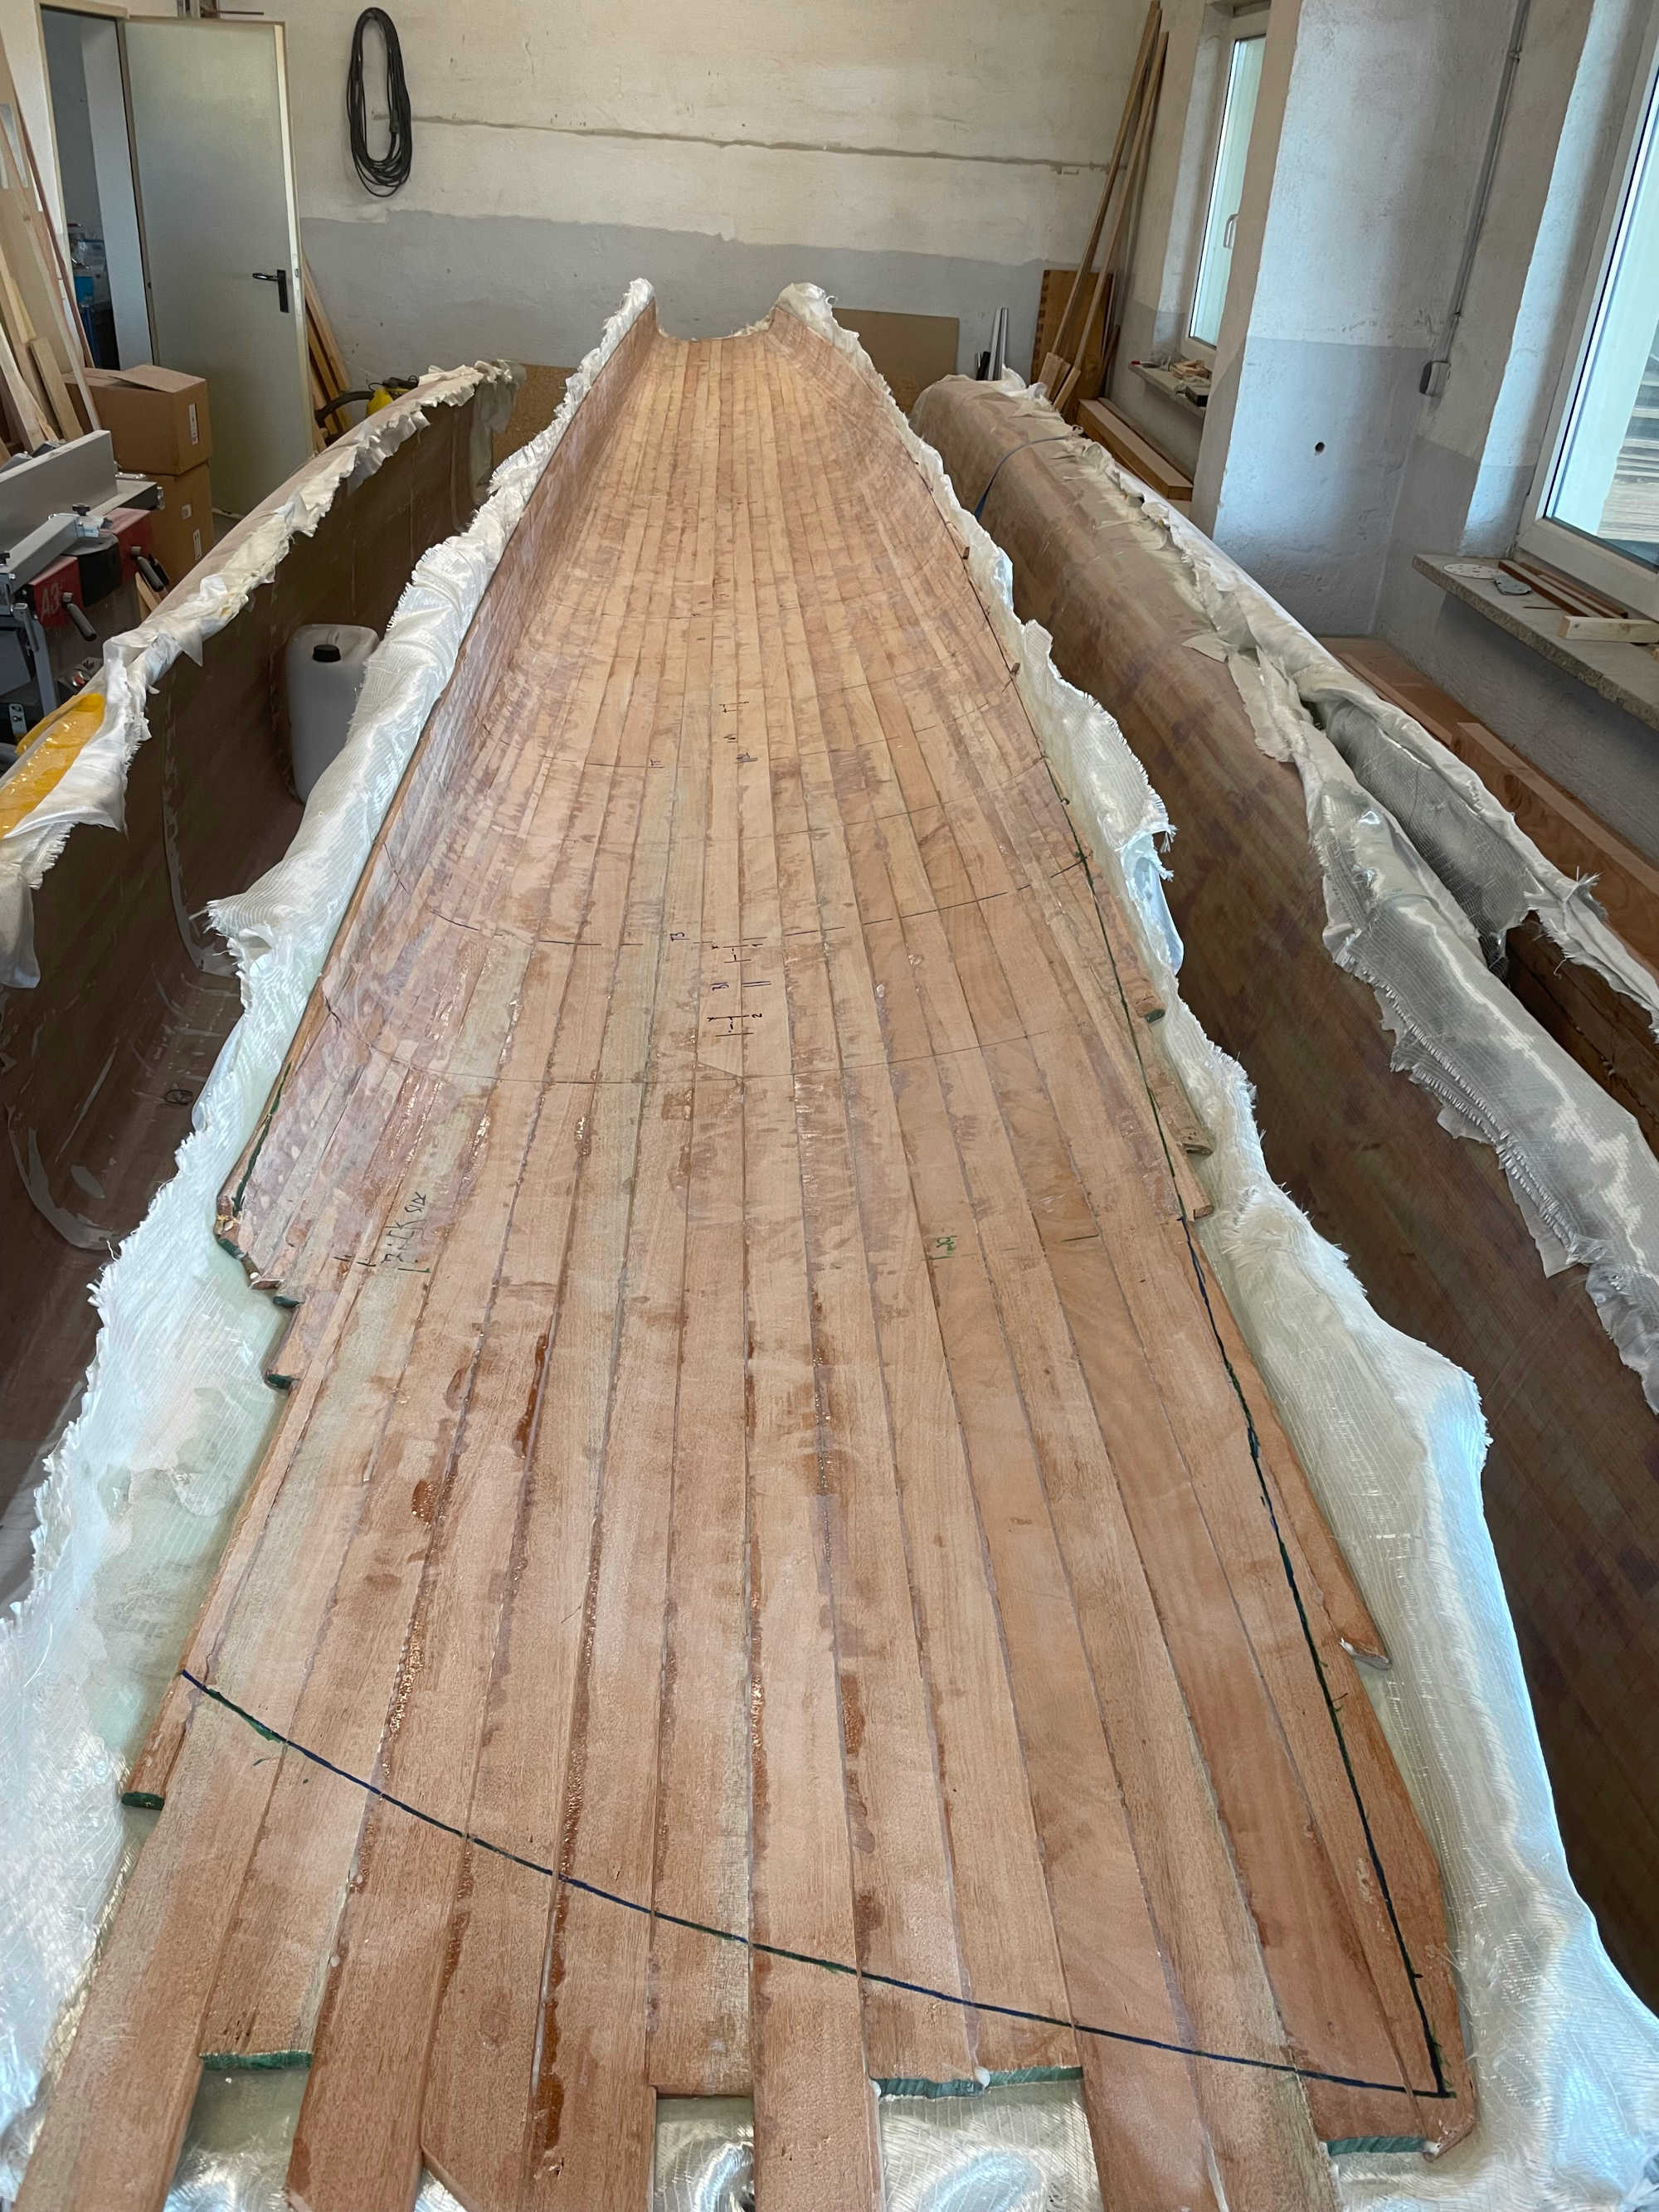
The outside 2 layers, we did in one piece, wet on wet from front to back. Each ama right after we finished planking. First of all they were sitting nicely on the scaffold, then I had to clean them and sand them anyway. And the most important reason: after planking two amas we had to turn the templates on the scaffold (22 of them) for the next side of the ama. So instead of doing it twice, we decided to finish each half including the outside lamination in one go. For that we cut the fiberglass to the desired length and then rolled it from both ends toward the mid point or better to the point where the Ama is the widest, which was roughly in the middle. Why I did it? As I said, we laminated the outside of the Ama with one piece of fiberglass front to back. The ama has a beautiful curve along and across it's length. The height of the ama, bottom to top, varies from 800 mm to 1250 mm and the total length is almost 9 m. So, to roll fiberglass over a wet and sticky surface from end to end and keep rolling it straight along to cover the whole surface from top to bottom… No no no…too risky.
Let's break it up, to make it easier:
Step 1: Priming the wood. I give the wood a good soak to prevent dry spots.
Step 2: Roll out the first layer of fiberglass and degas.
Step 3: Wet it out.
Step 4: Roll out the 2nd layer of Fiberglass.
Step 5: Wet it out and degas.
Step 6: Apply peel ply and again degas.
We were able to finish in 4 hours with two persons in quite sporty mode. It went nice and smooth with no air bubbles trapped in, also because it was still warm… happy.
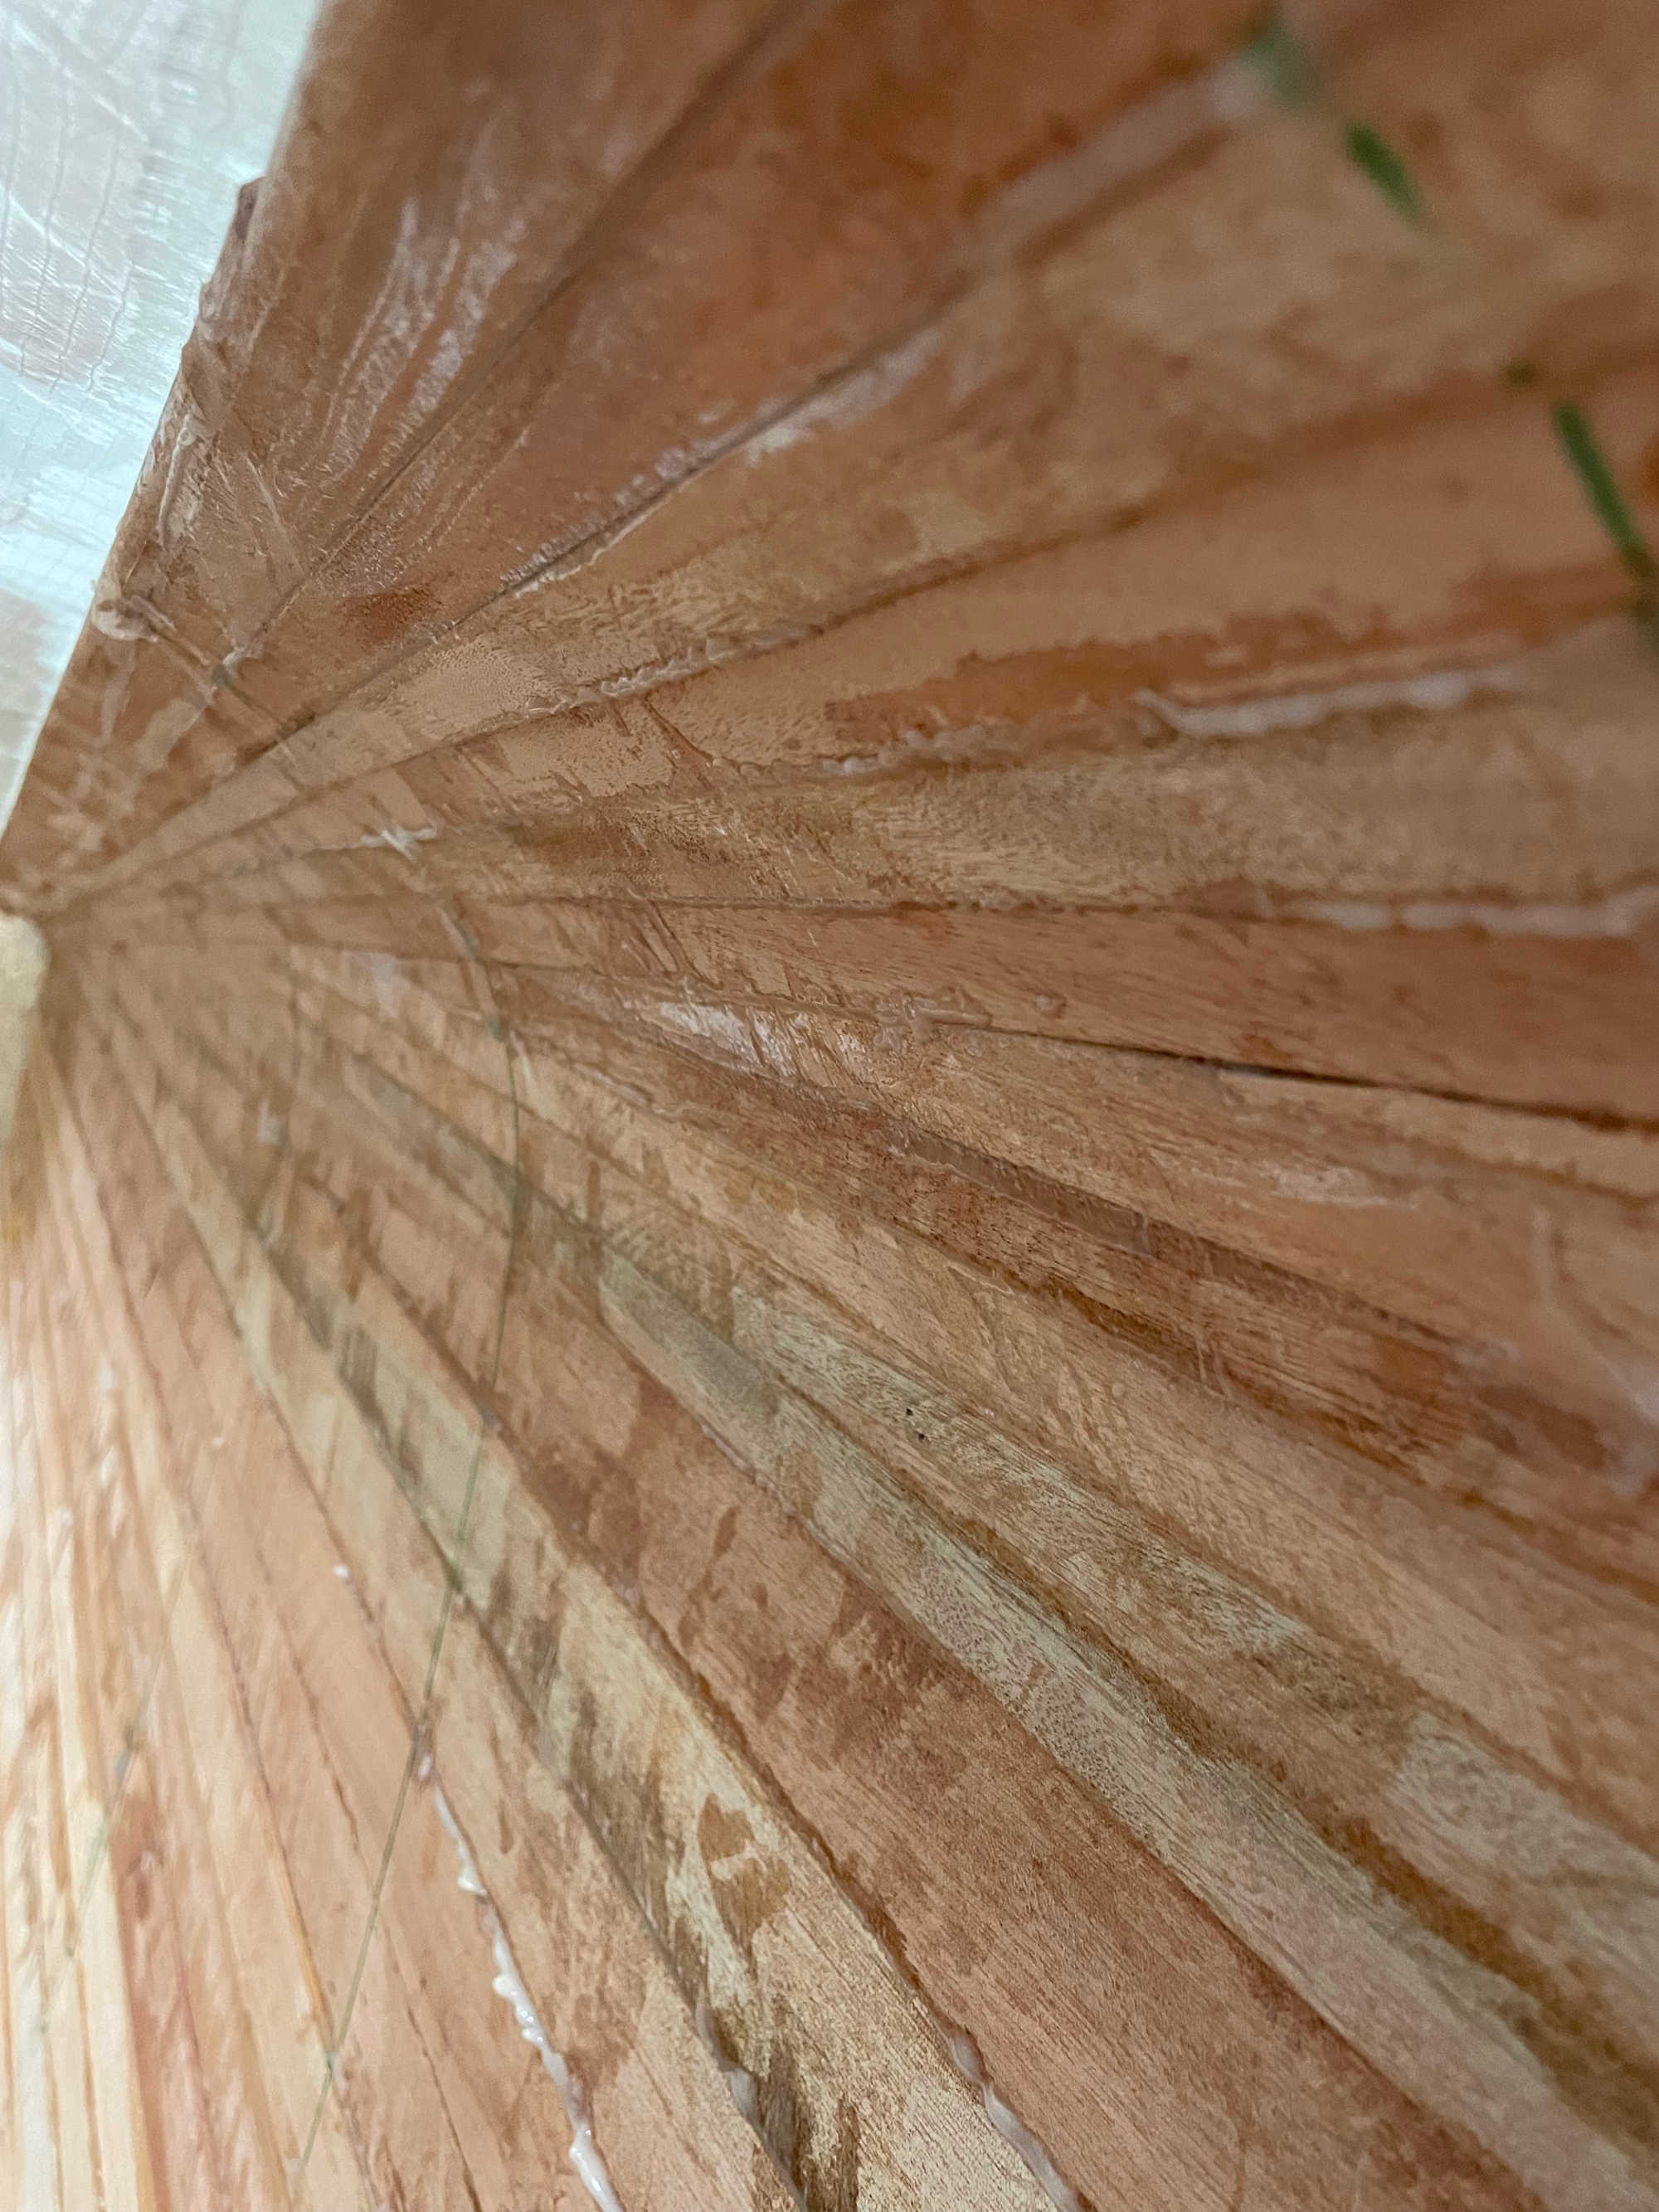
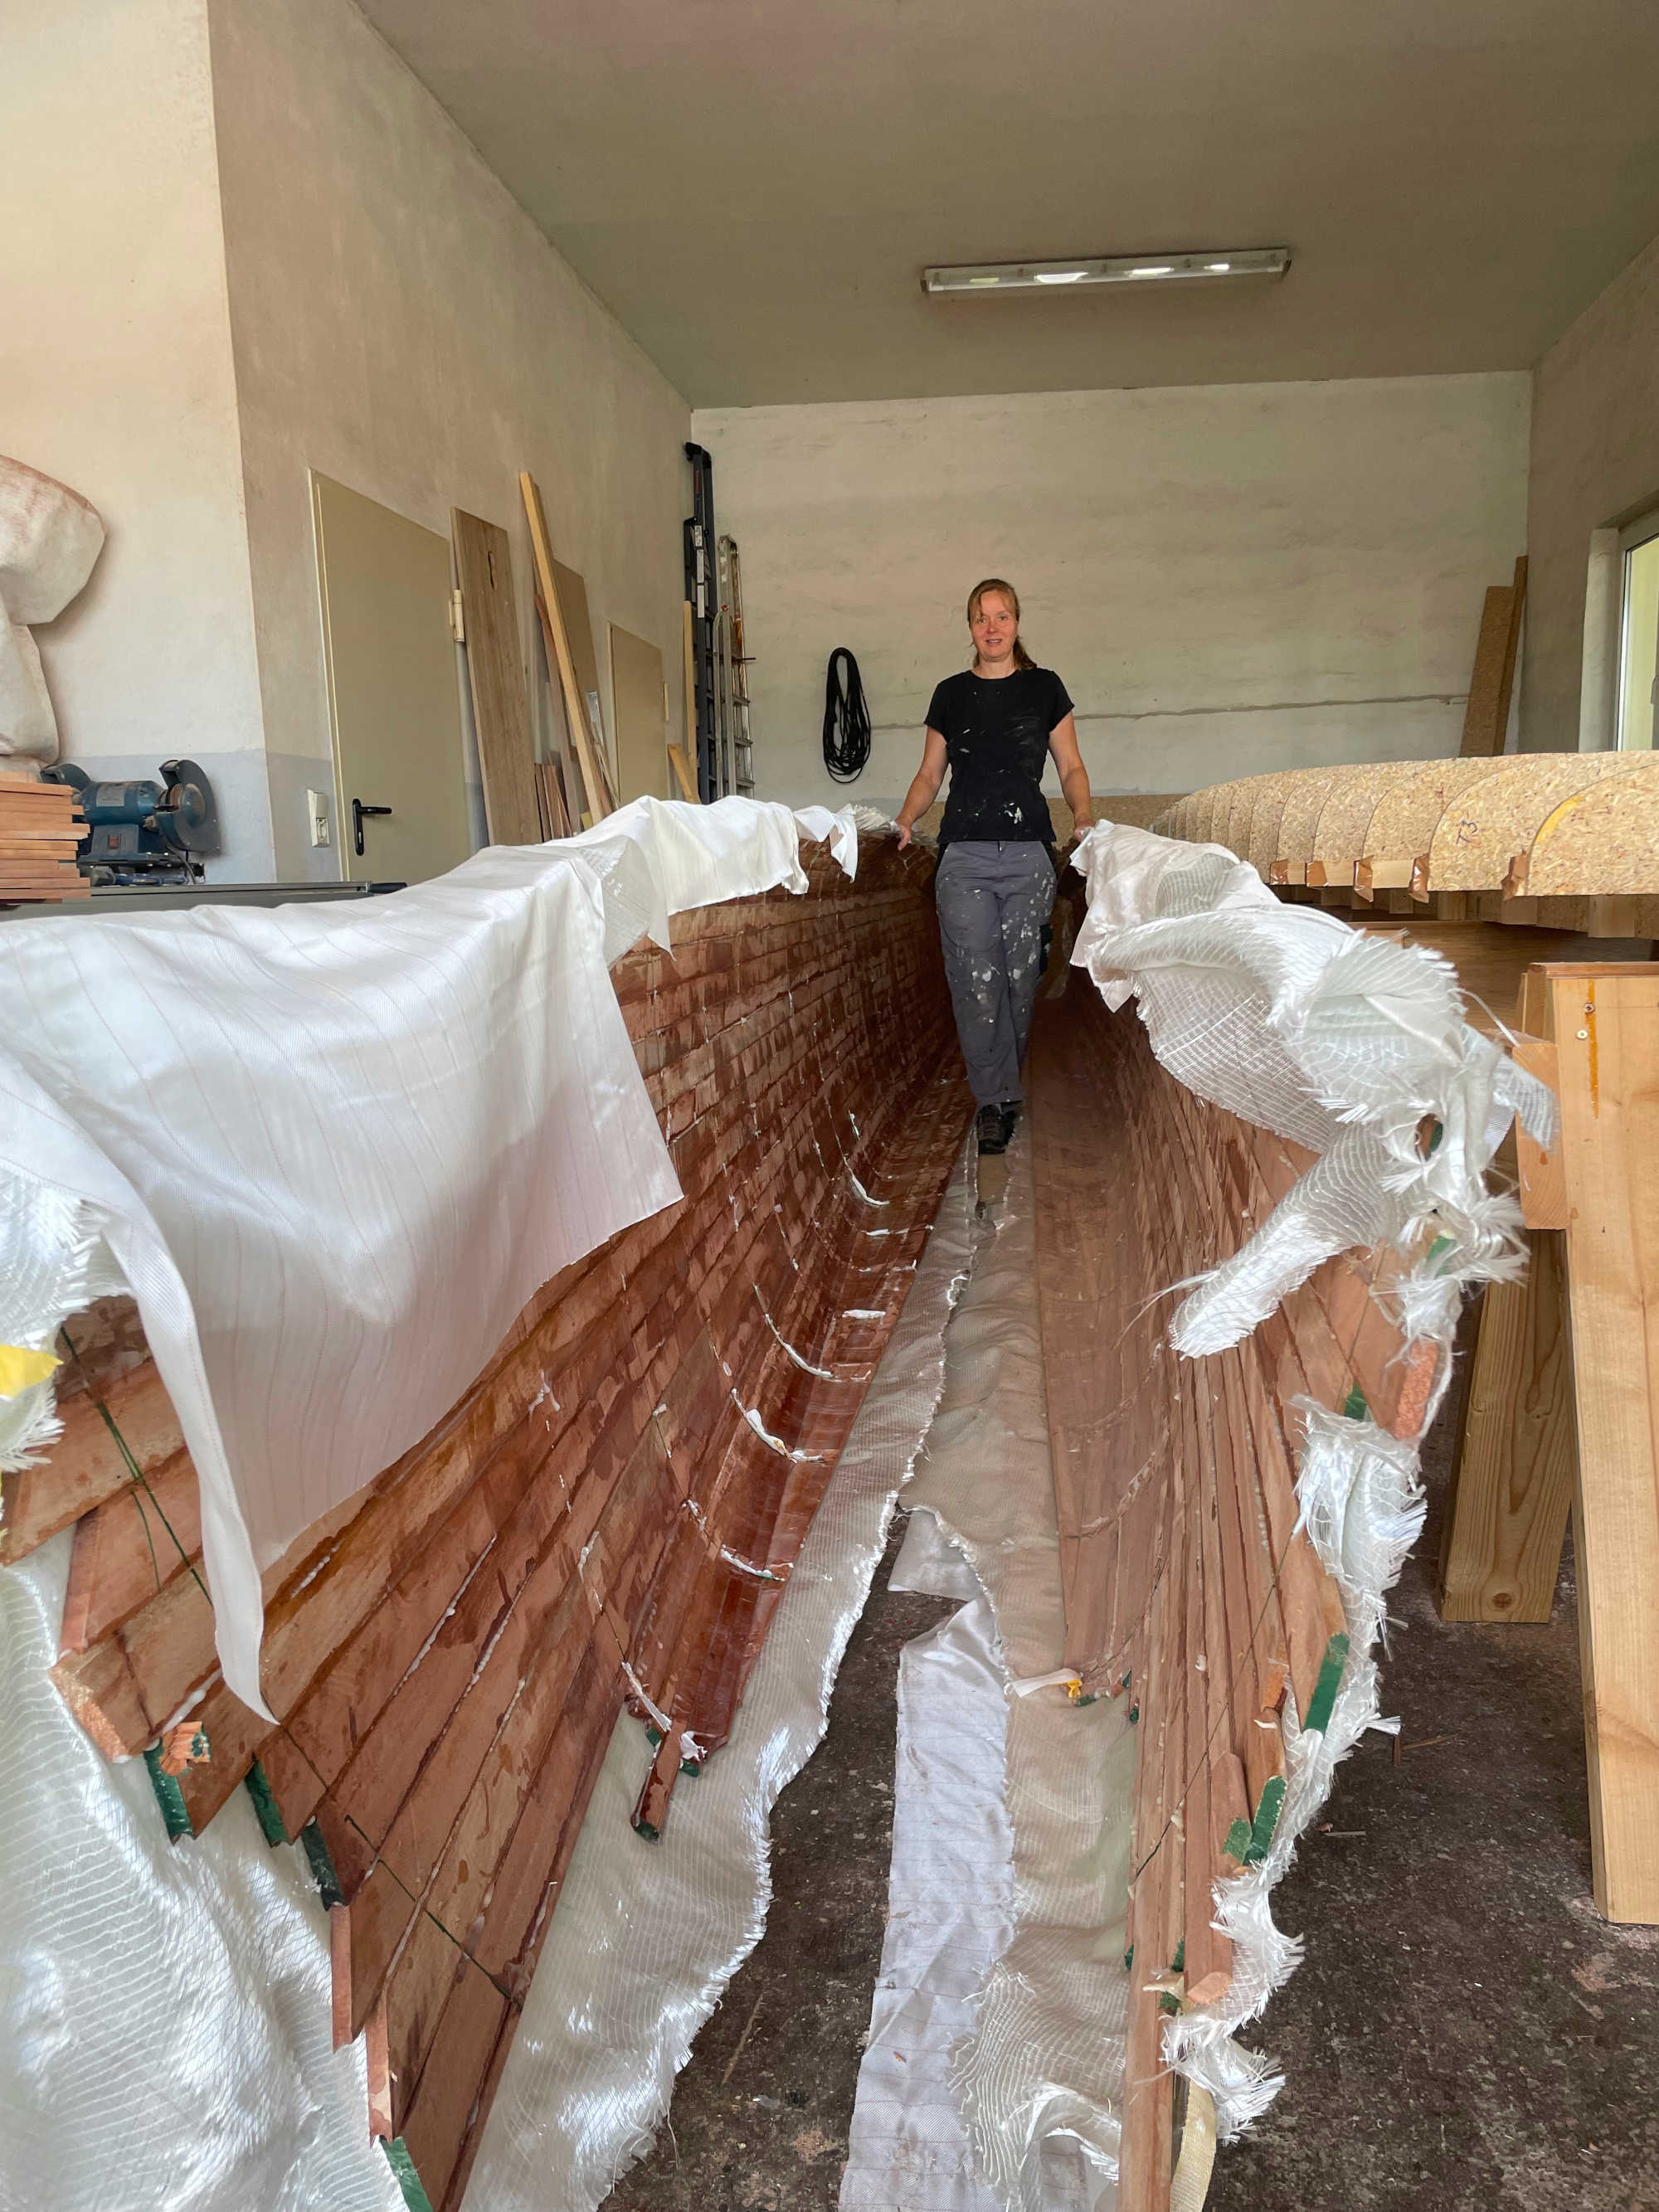
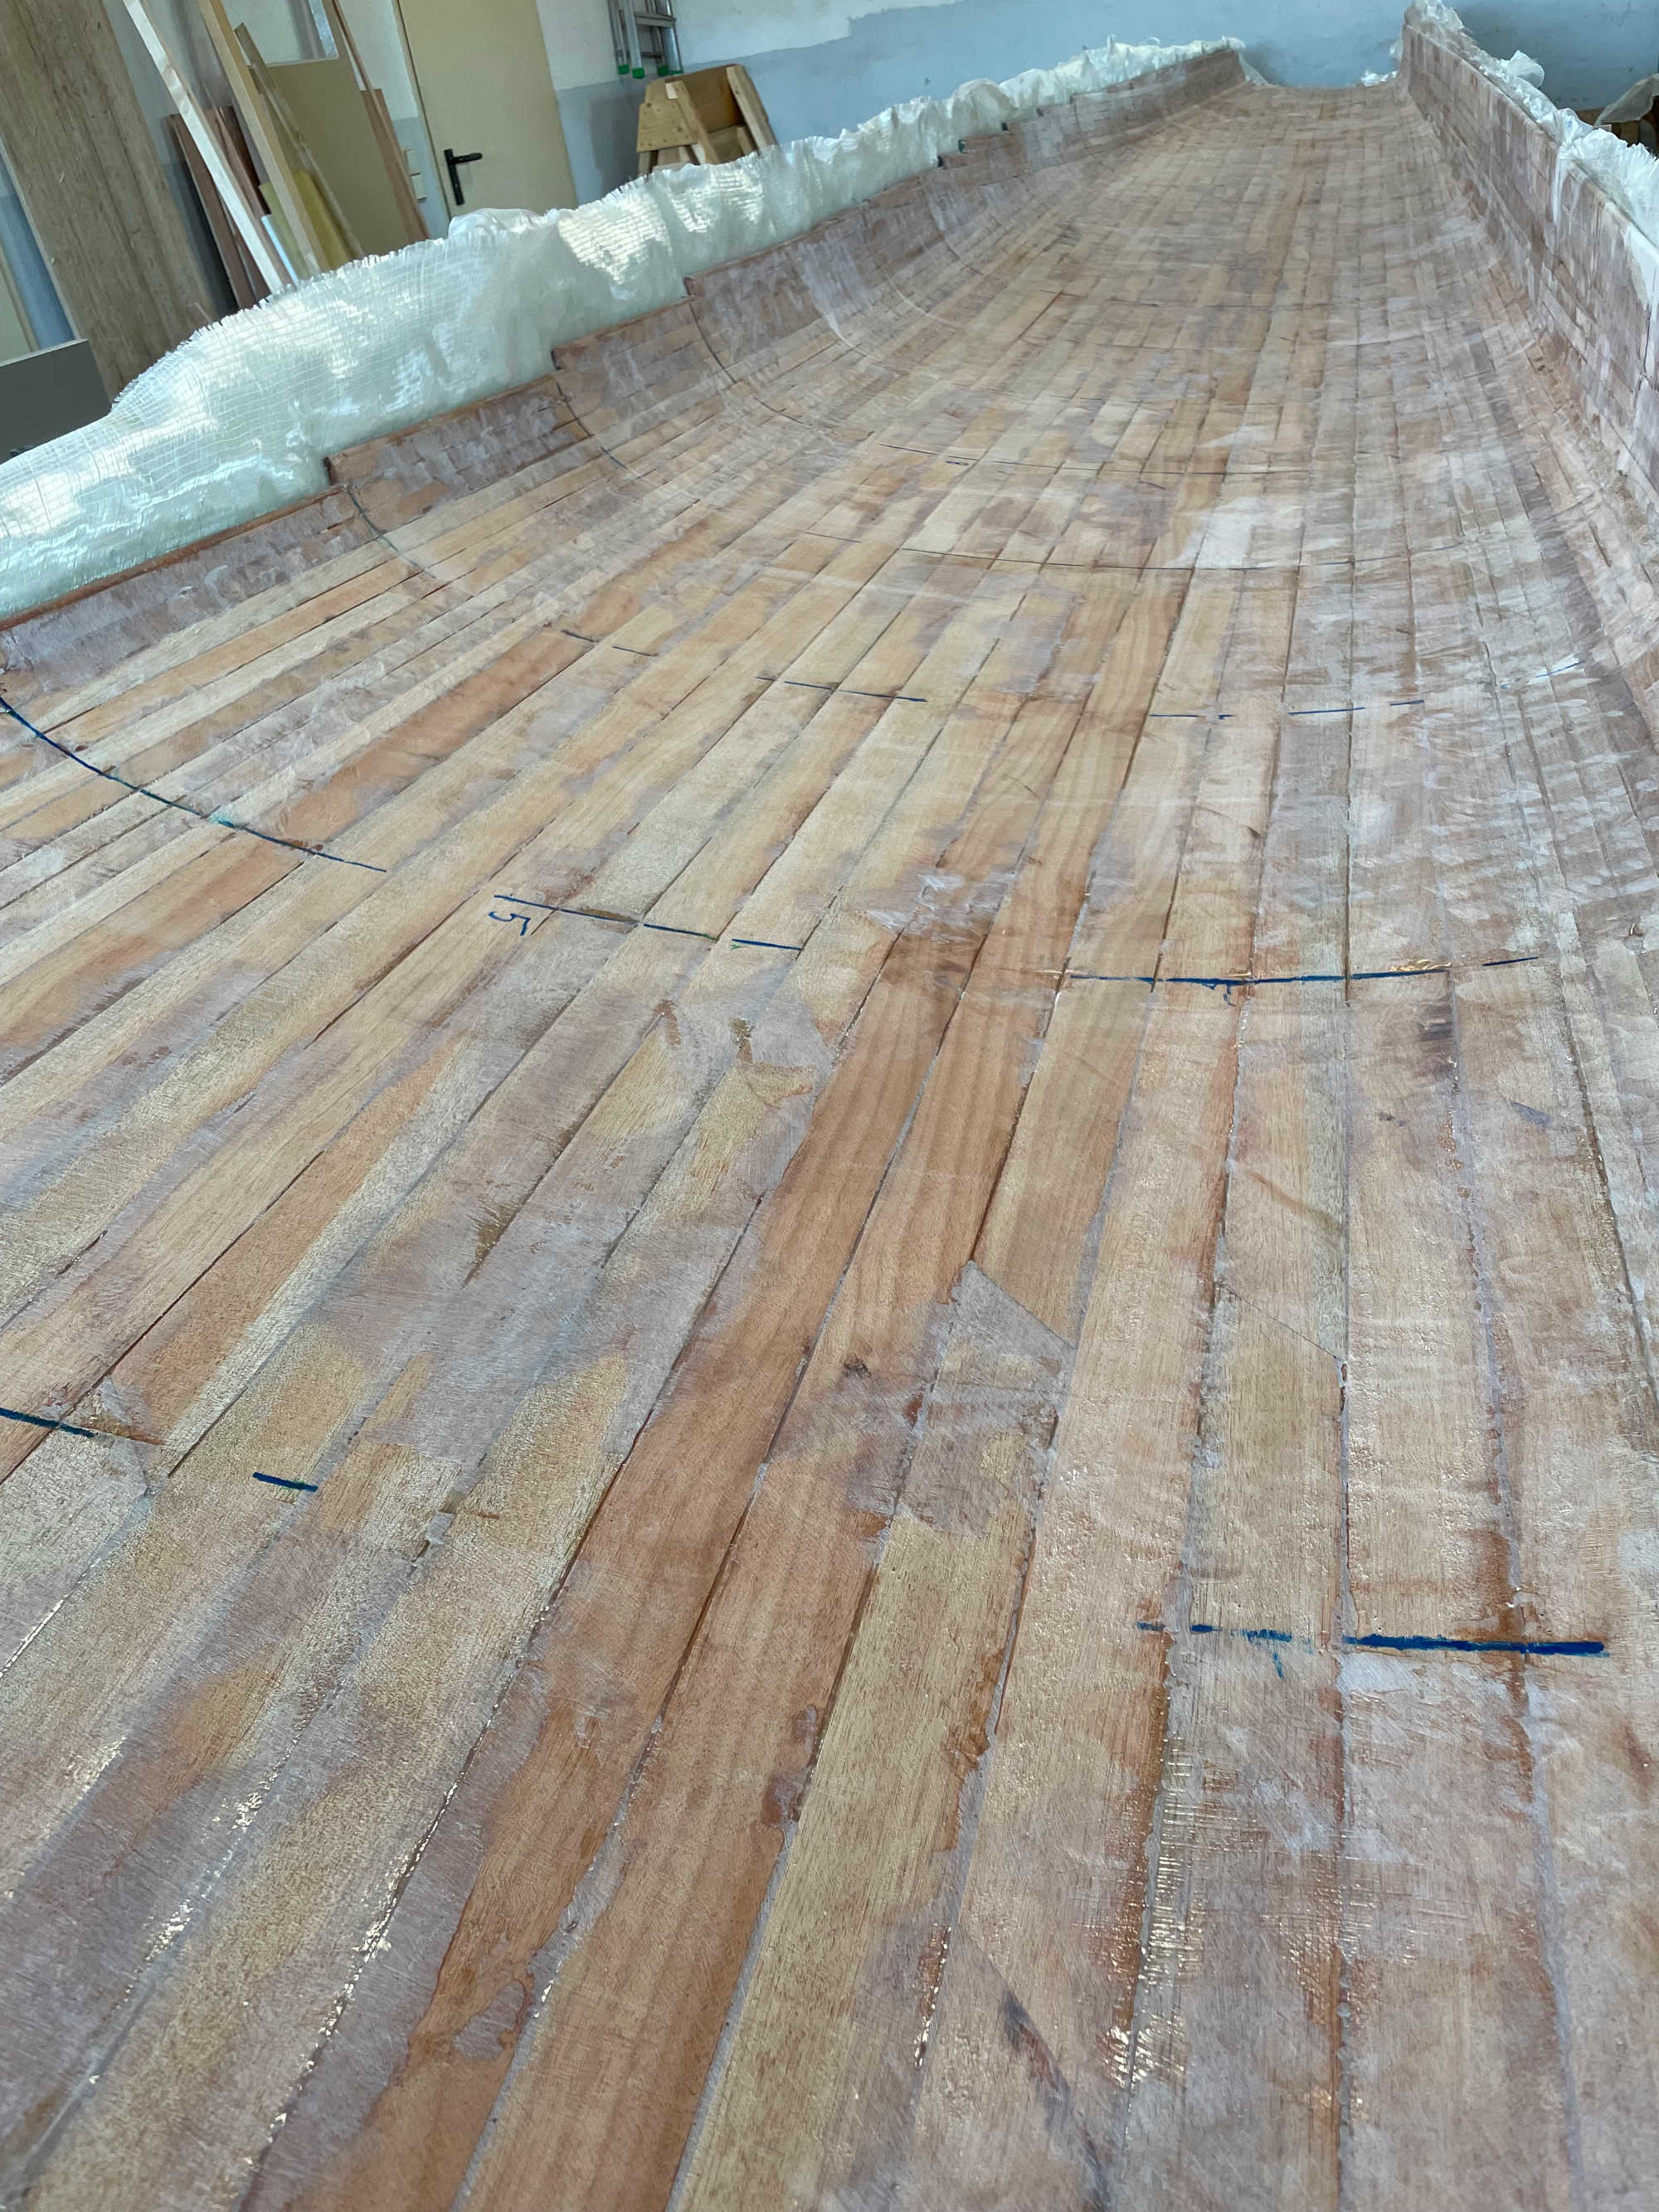
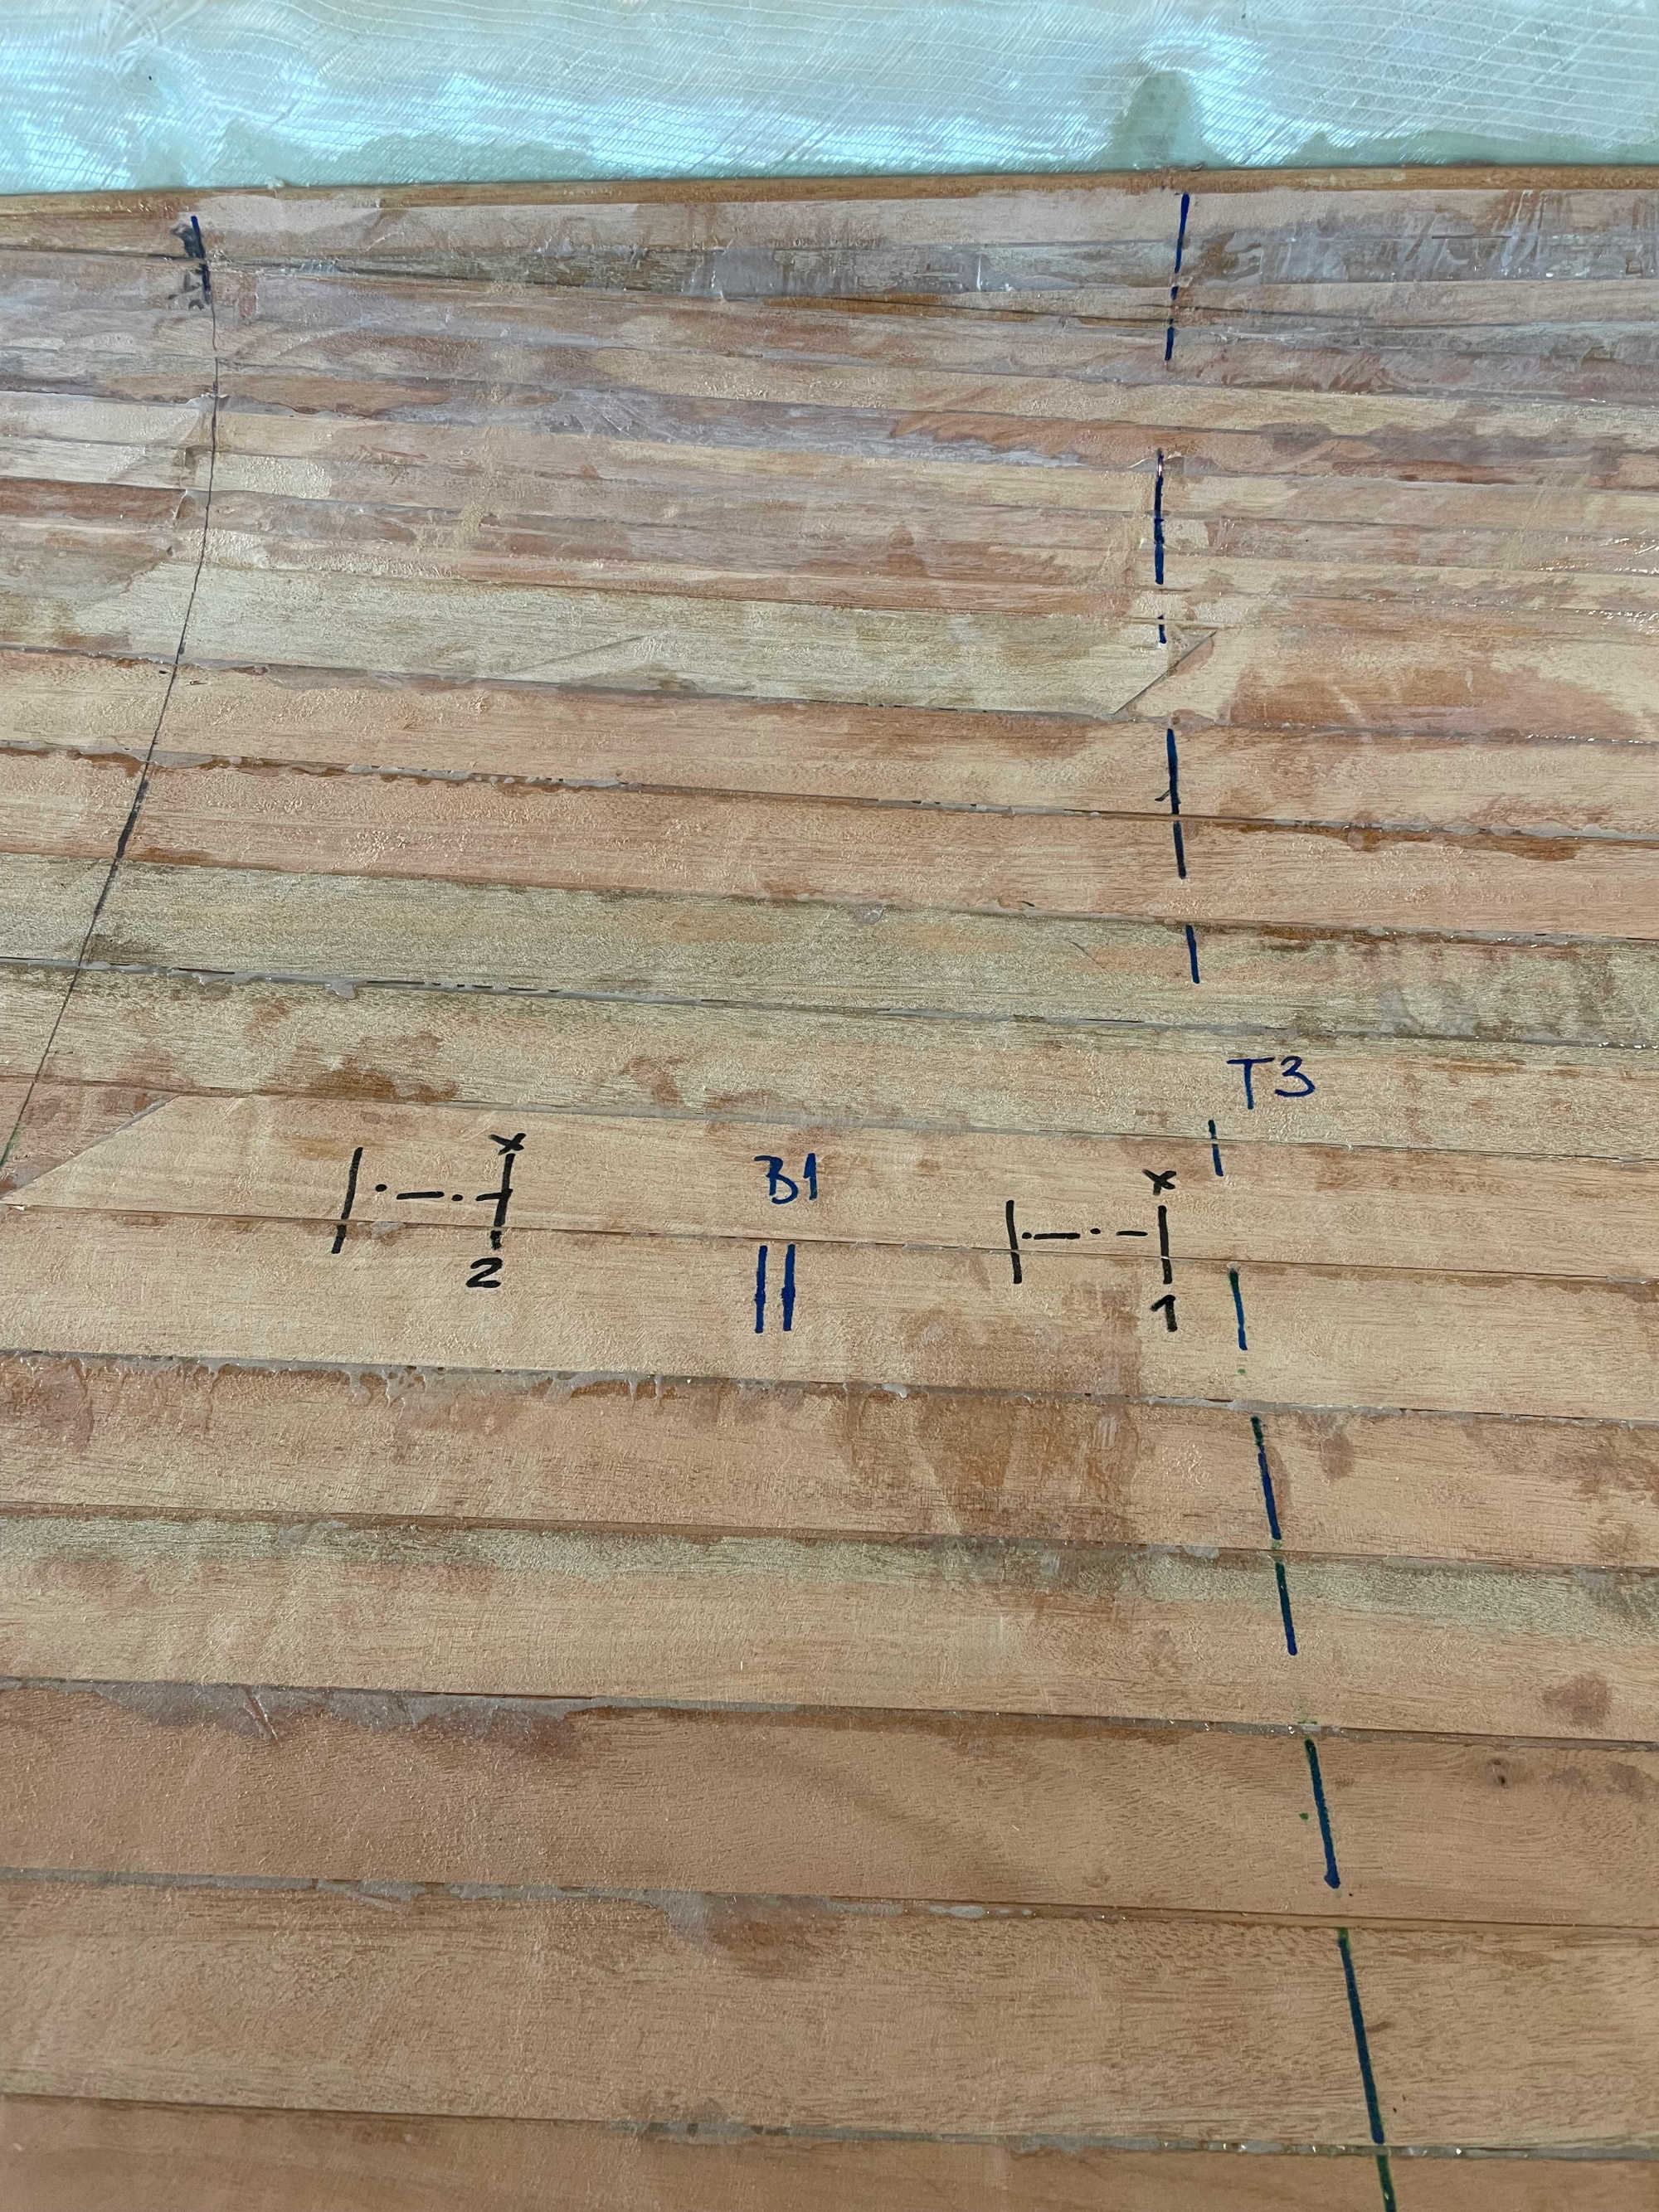
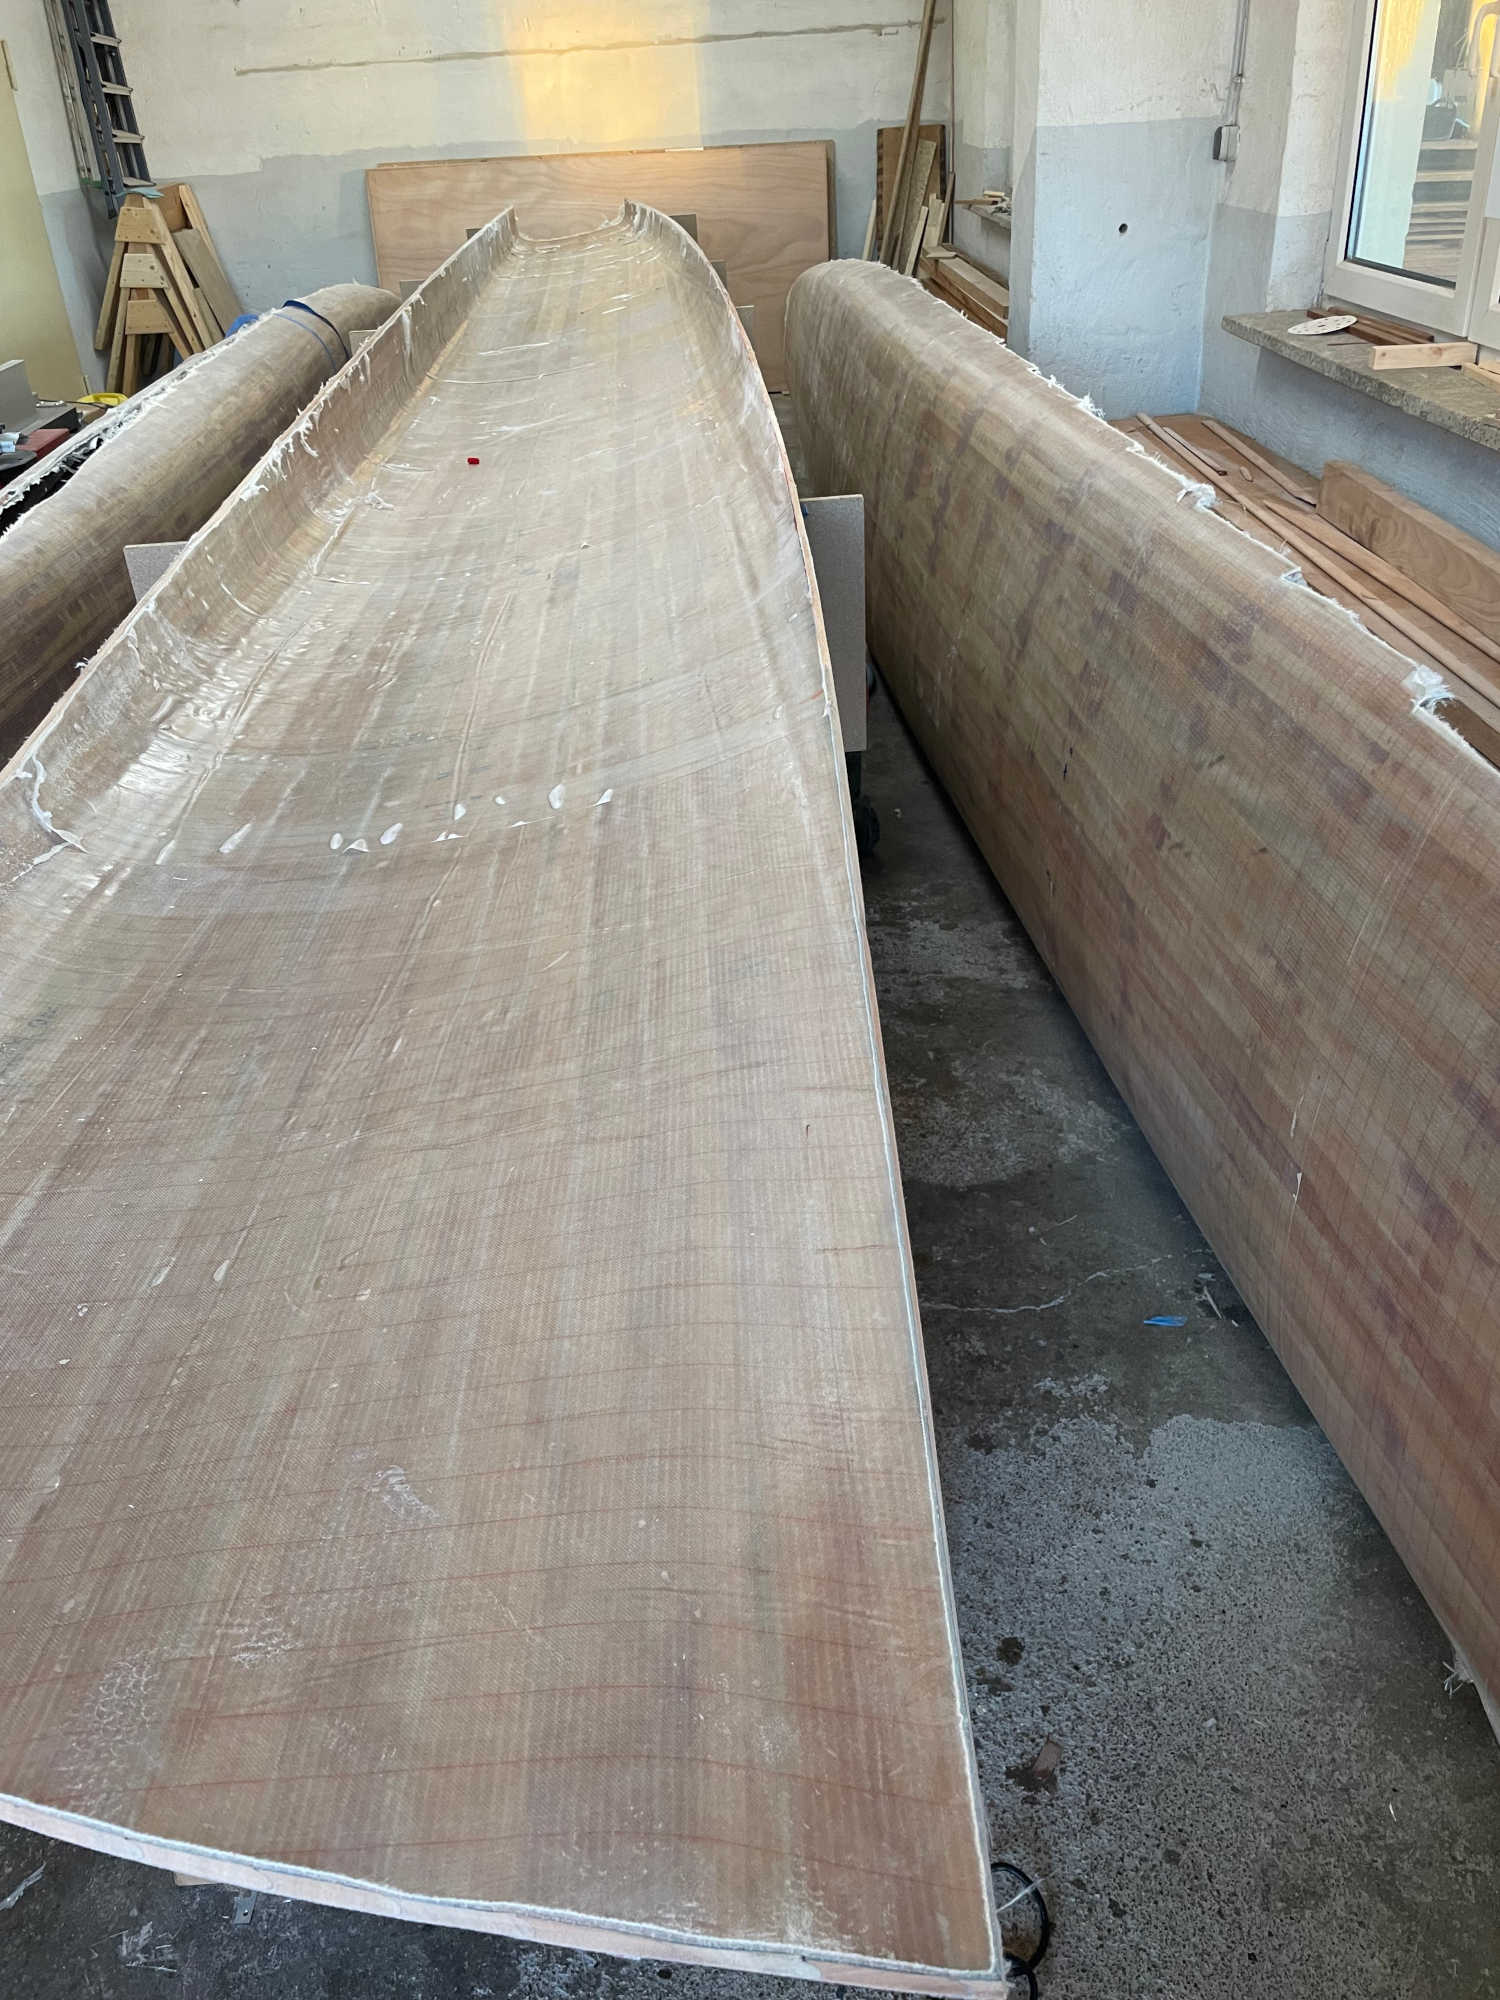
Inside lamination was a different story. Upright walls (U shape of the inside hull) make the lamination difficult. I am pretty sure, everybody who went through lamination knows what I am talking about. Falling fiberglass or fiberglass trying to bridge corners… Therefore, our approach was to divide the lamination into sections of 127 cm. That is the width of the fiberglass sheet we are using.
I marked the section on the ama to see how many pieces of fiberglass we need from end to end and measured the length from bottom to top side. We decided on an overlap of 5-8 cm between sheets of the same coat and roughly 20 cm between 1st and 2nd layer. I made sure to avoid overlaps at the positions where we will place bulkheads. Not a big deal, but will be better for placing them. Then I marked the center of each glass sheet along the length of the ama, so we can role the fiberglass from the center to the outside. This time not along, but across the ama. From the bilge center to the center of the deck. OK, so we have all preparation done… One Question - where is the peel ply?… OMG, I forgot to cut it… not everything goes perfect. Bit of stress with one extra job during the lamination… We can not forget to cut it next time… which means next 3 times…
We did it…
Conclusion… make sure you really have all preparation steps done.
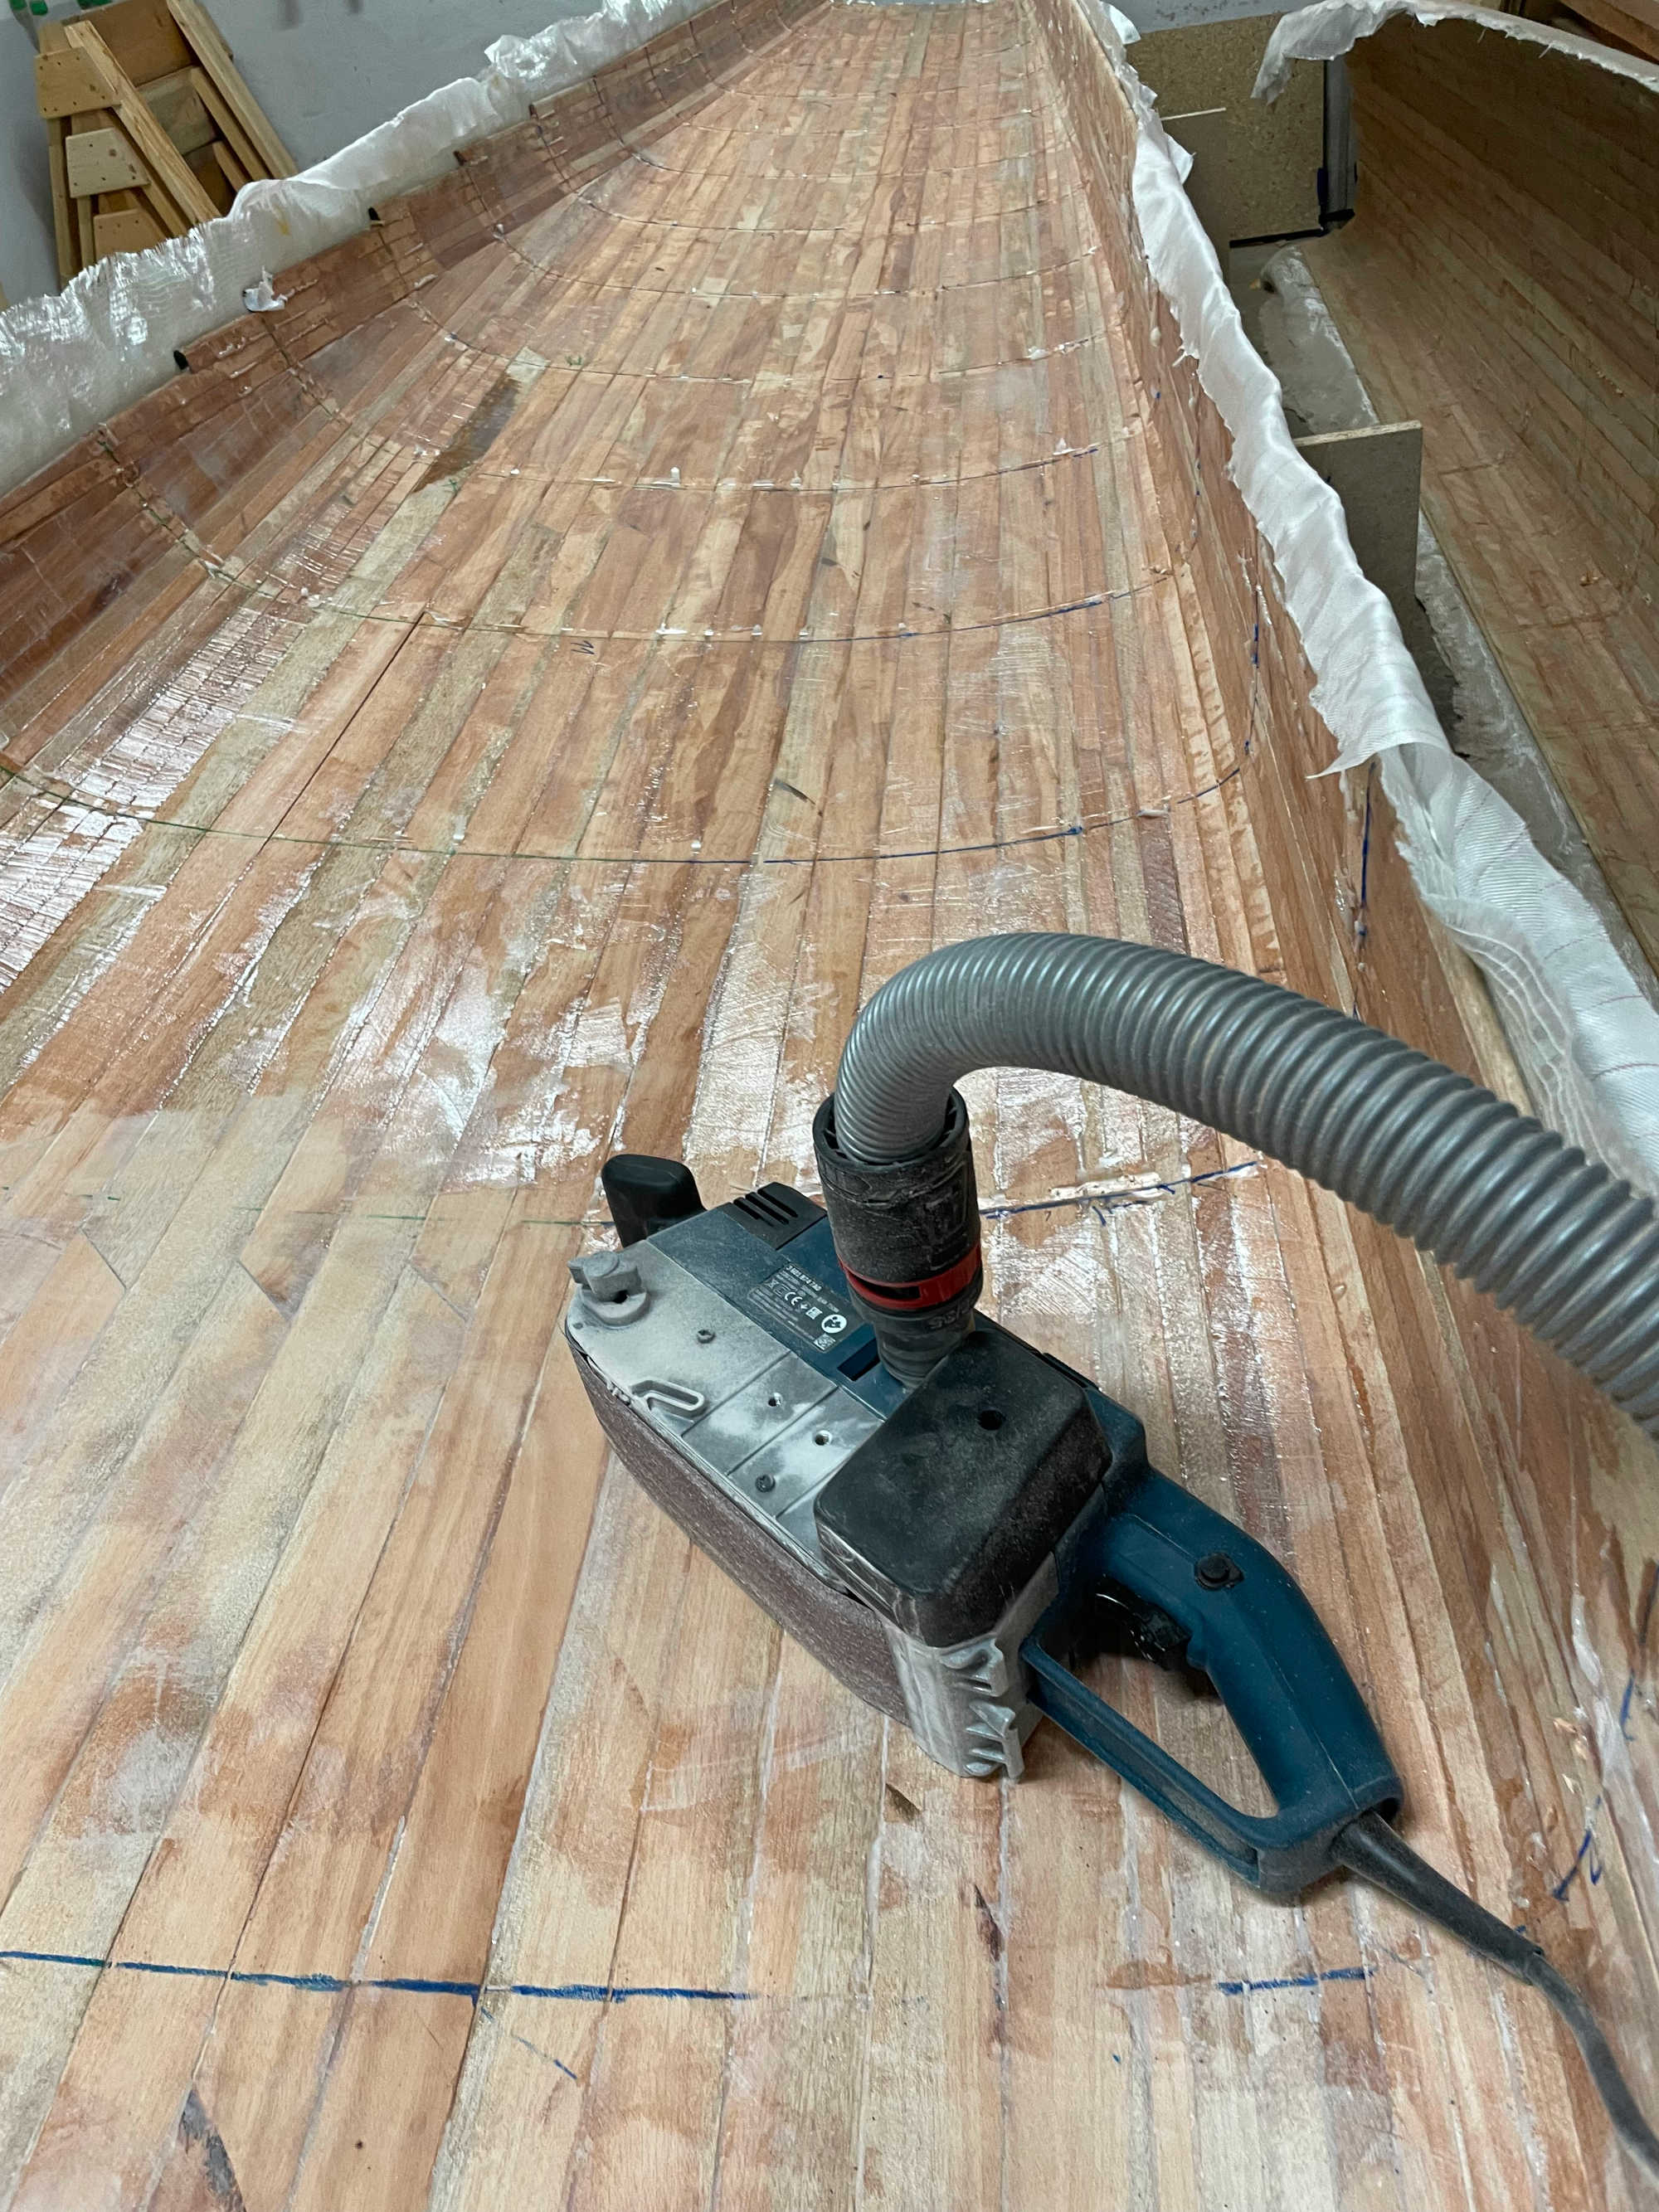
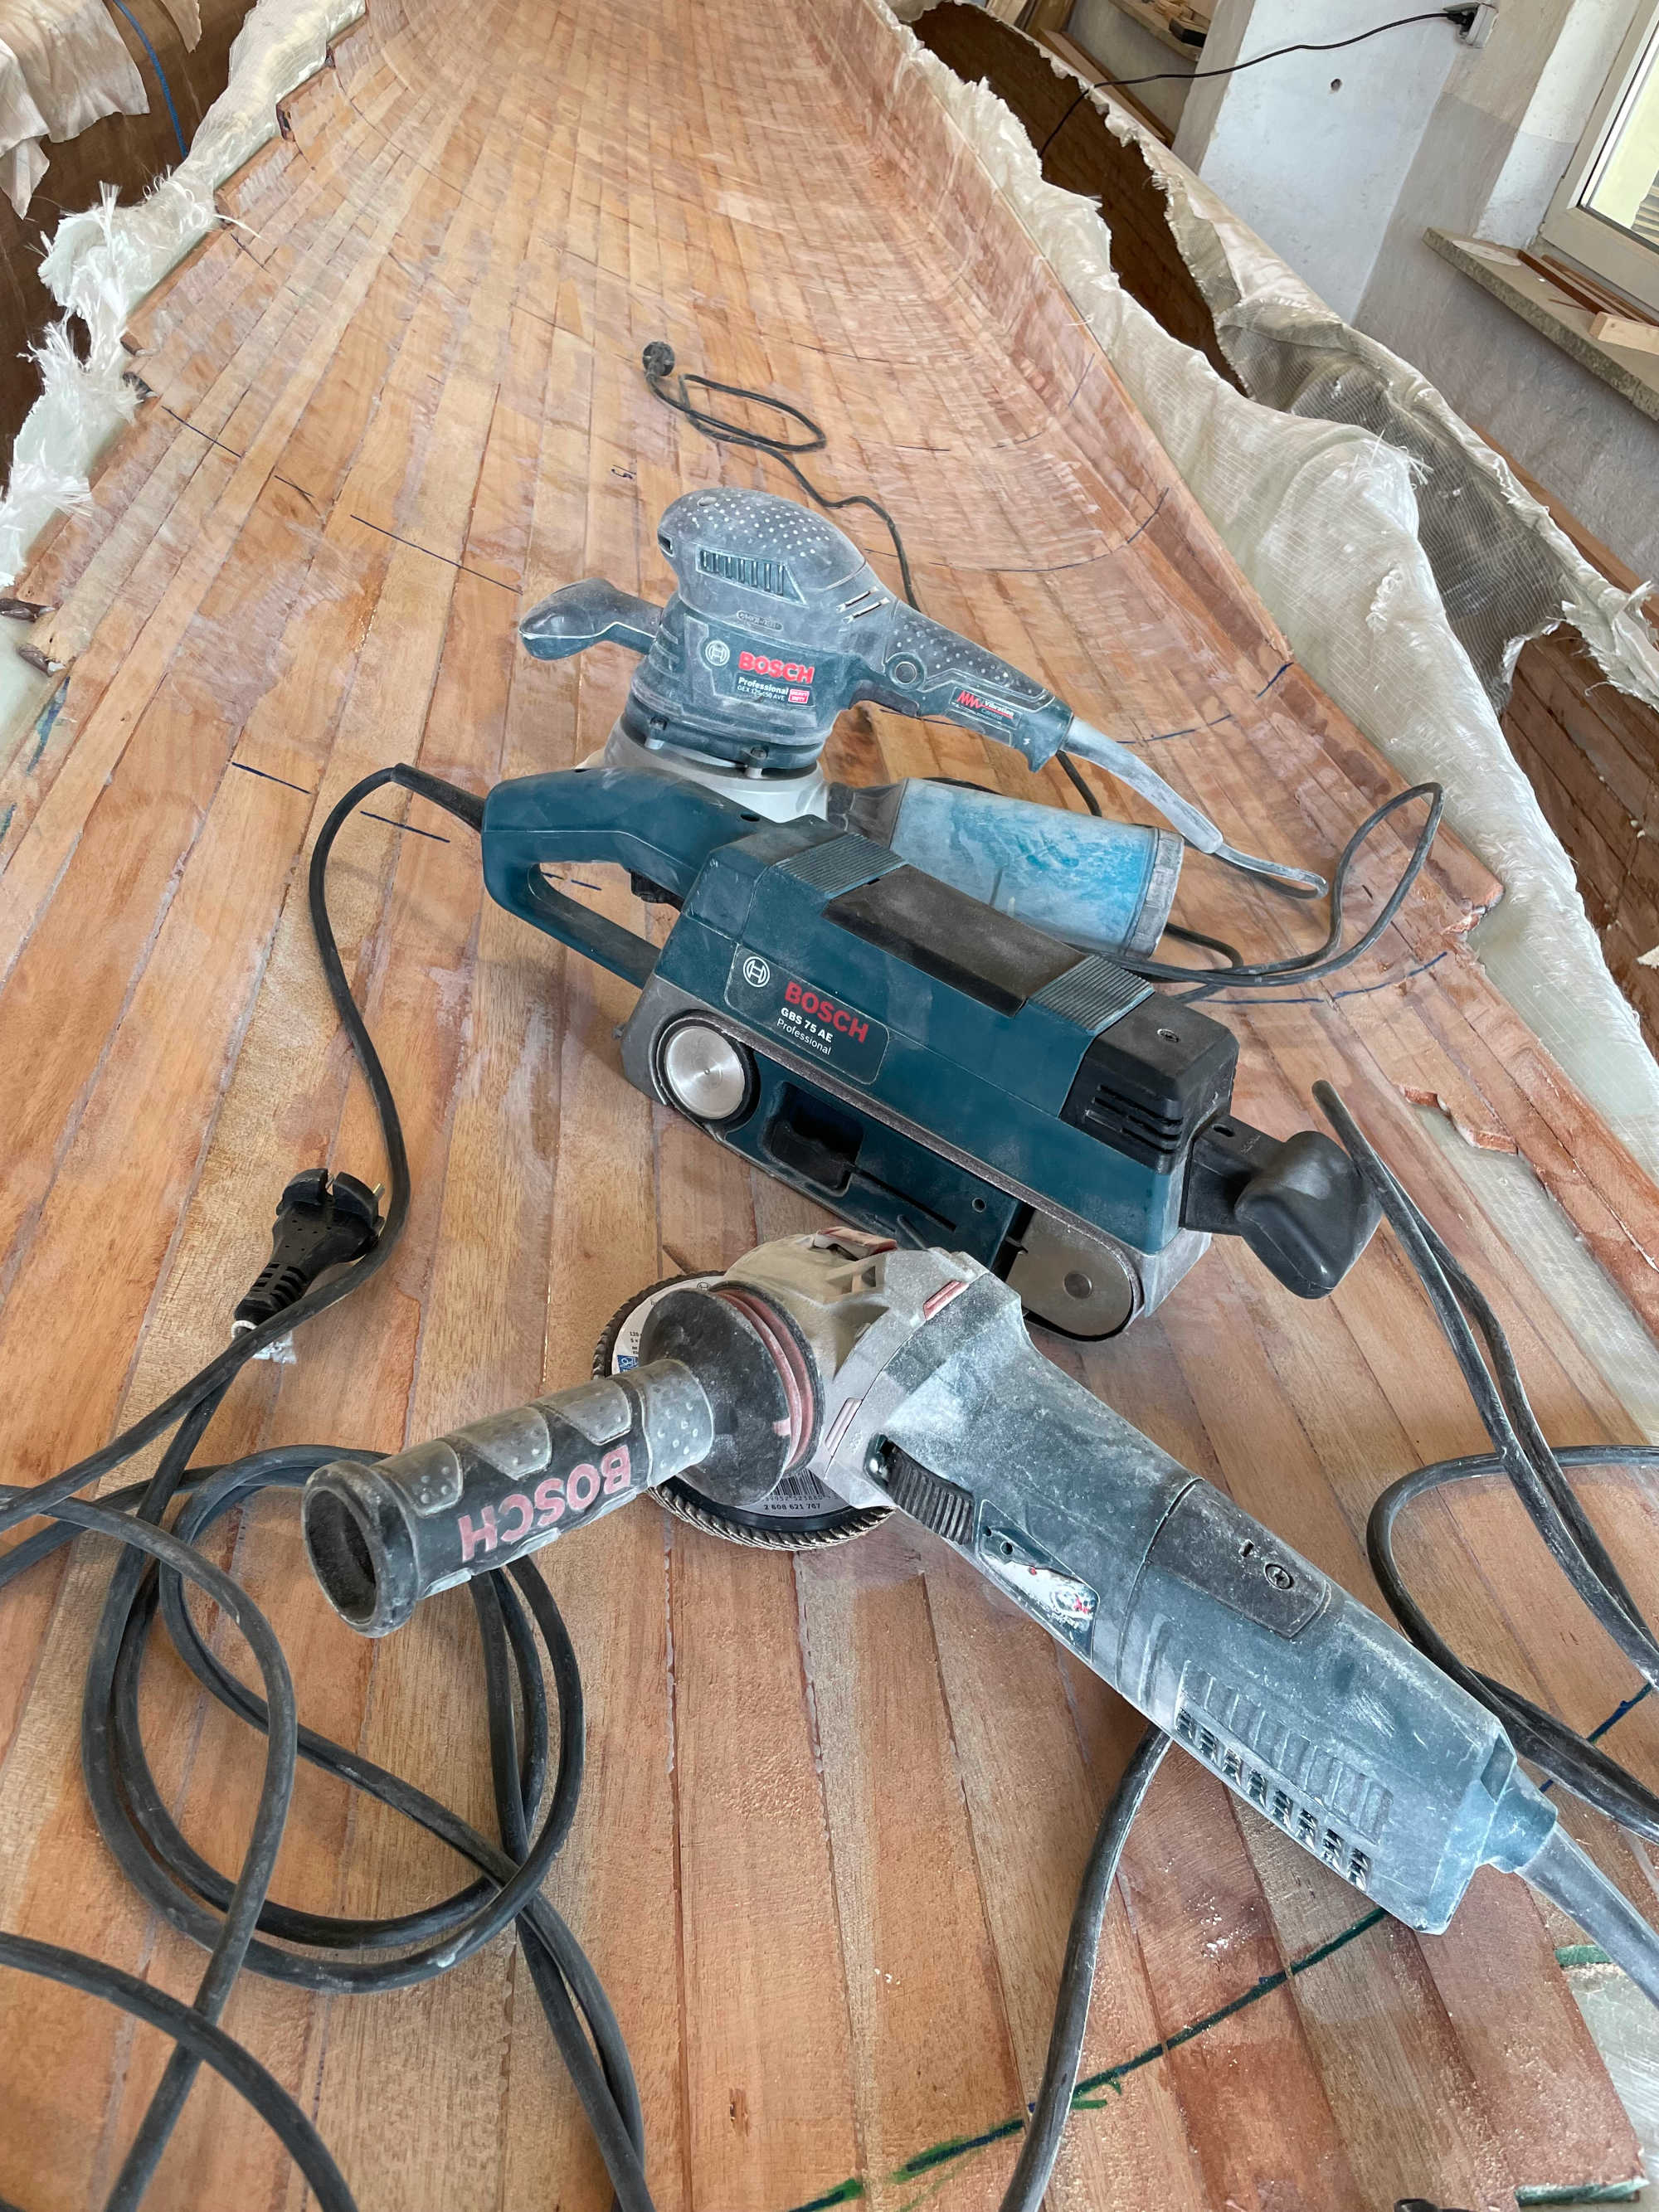
We played a bit with mixing ratio between fast and slow hardener, because the temperature significantly dropped down over the time. Between the first outside and last inside lamination. At the end everything cured to perfection. We have no waste of epoxy at all too. Well done! Kerstin did a perfect job with mixing and mixing and mixing… that was really quite a few kg of epoxy pumped and mixed… No need for gym. Another step finished. Next step is cleaning and shaping the connecting surface on each ama and then bulkheads and so on…
 |
 |
 |
 |
 |
 |
 |
 |
 |
 |
 |
 |
 |
 |
 |
 |
 |
|||
| Amas - Lamination | |||
| Amas - Planking Vacation | Amas - Shaping |